Creating Custom Avatars
In Hubs you can choose how you want to represent yourself. Select from any of the featured or newest avatars, or create your own.
Depending on how involved you'd like to get in the avatar creation process, you might choose to simply 're-skin' one of the base avatar bodies, or upload your own 3D model.
![]()
To 're-skin' a robot or box bot avatar
The most straightforward way to customize an avatar for Hubs is to upload a custom texture on one of the base robots. To do this:
- Enter a Hubs room.
- Select the "People" list icon in the top right corner of the screen.
- By your name, you will see a pencil icon. Click this icon to open the avatar selection screen.
- Click the "Browse Avatars" button.
- From here, you can see a list of your own avatars, the first spot should say "Create Avatar".
- In the avatar customization screen choose one of the default body shapes.
- Click "Base Map" and upload an image file. If you want to design a custom texture for the robot skin, see the details below.
- Save the avatar.
Create a robot texture
The easiest way to design a new skin for a robot avatar is to use our avatar re-skinning tool 'Quilt' to mix together image files, preview what they look like on a robot and export a single texture map file.
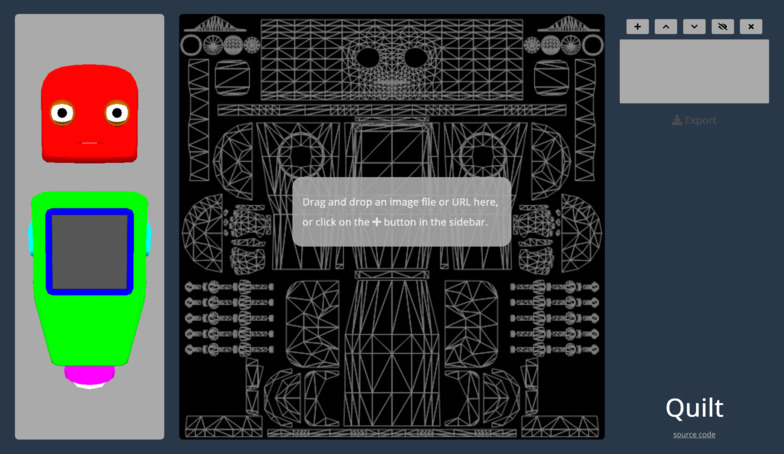
For downloadable .psd files see our advanced avatar customization documentation.
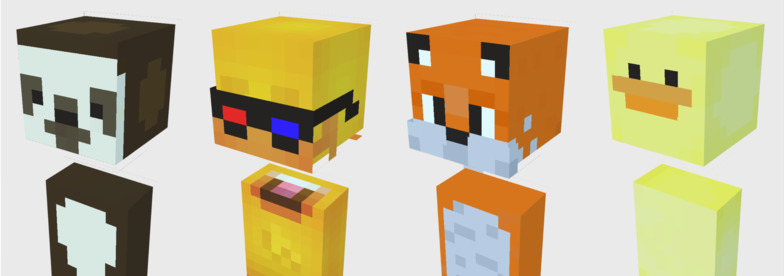
Create a box bot texture
The easiest way to create a new skin for a box bot is to use a Minecraft avatar building tool to create your own, or search online for Creative Commons Minecraft skins.
Advanced Avatar Customization
For more on customizing Hubs avatars, such as texture maps, downloadable templates, and instructions for using your own 3D models, check out the advanced avatar customization section of the documentation.