
Managing Your Hub's Content
This page serves as a manual for many of the features that are available to Hubs users to manage the content on their Hub.
Table of Contents
Introduction
Default Content
Importing and Migrating Content
Managing Scenes and Avatars
Managing Content Storage
Accounts and Identities
Projects
Logos and Brand Themeing
App Settings
Introduction
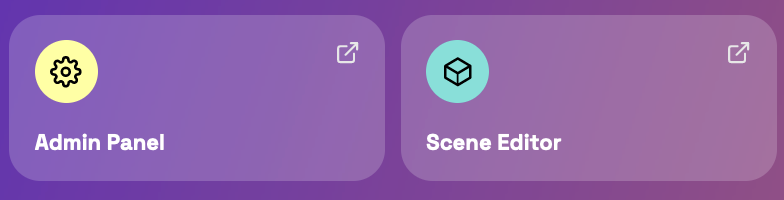
This page references the two tools you can use to manage your hub's content: The Admin Panel and our scene editor, Spoke. Both can be accessed in the top-right corner of your subscription dashboard.
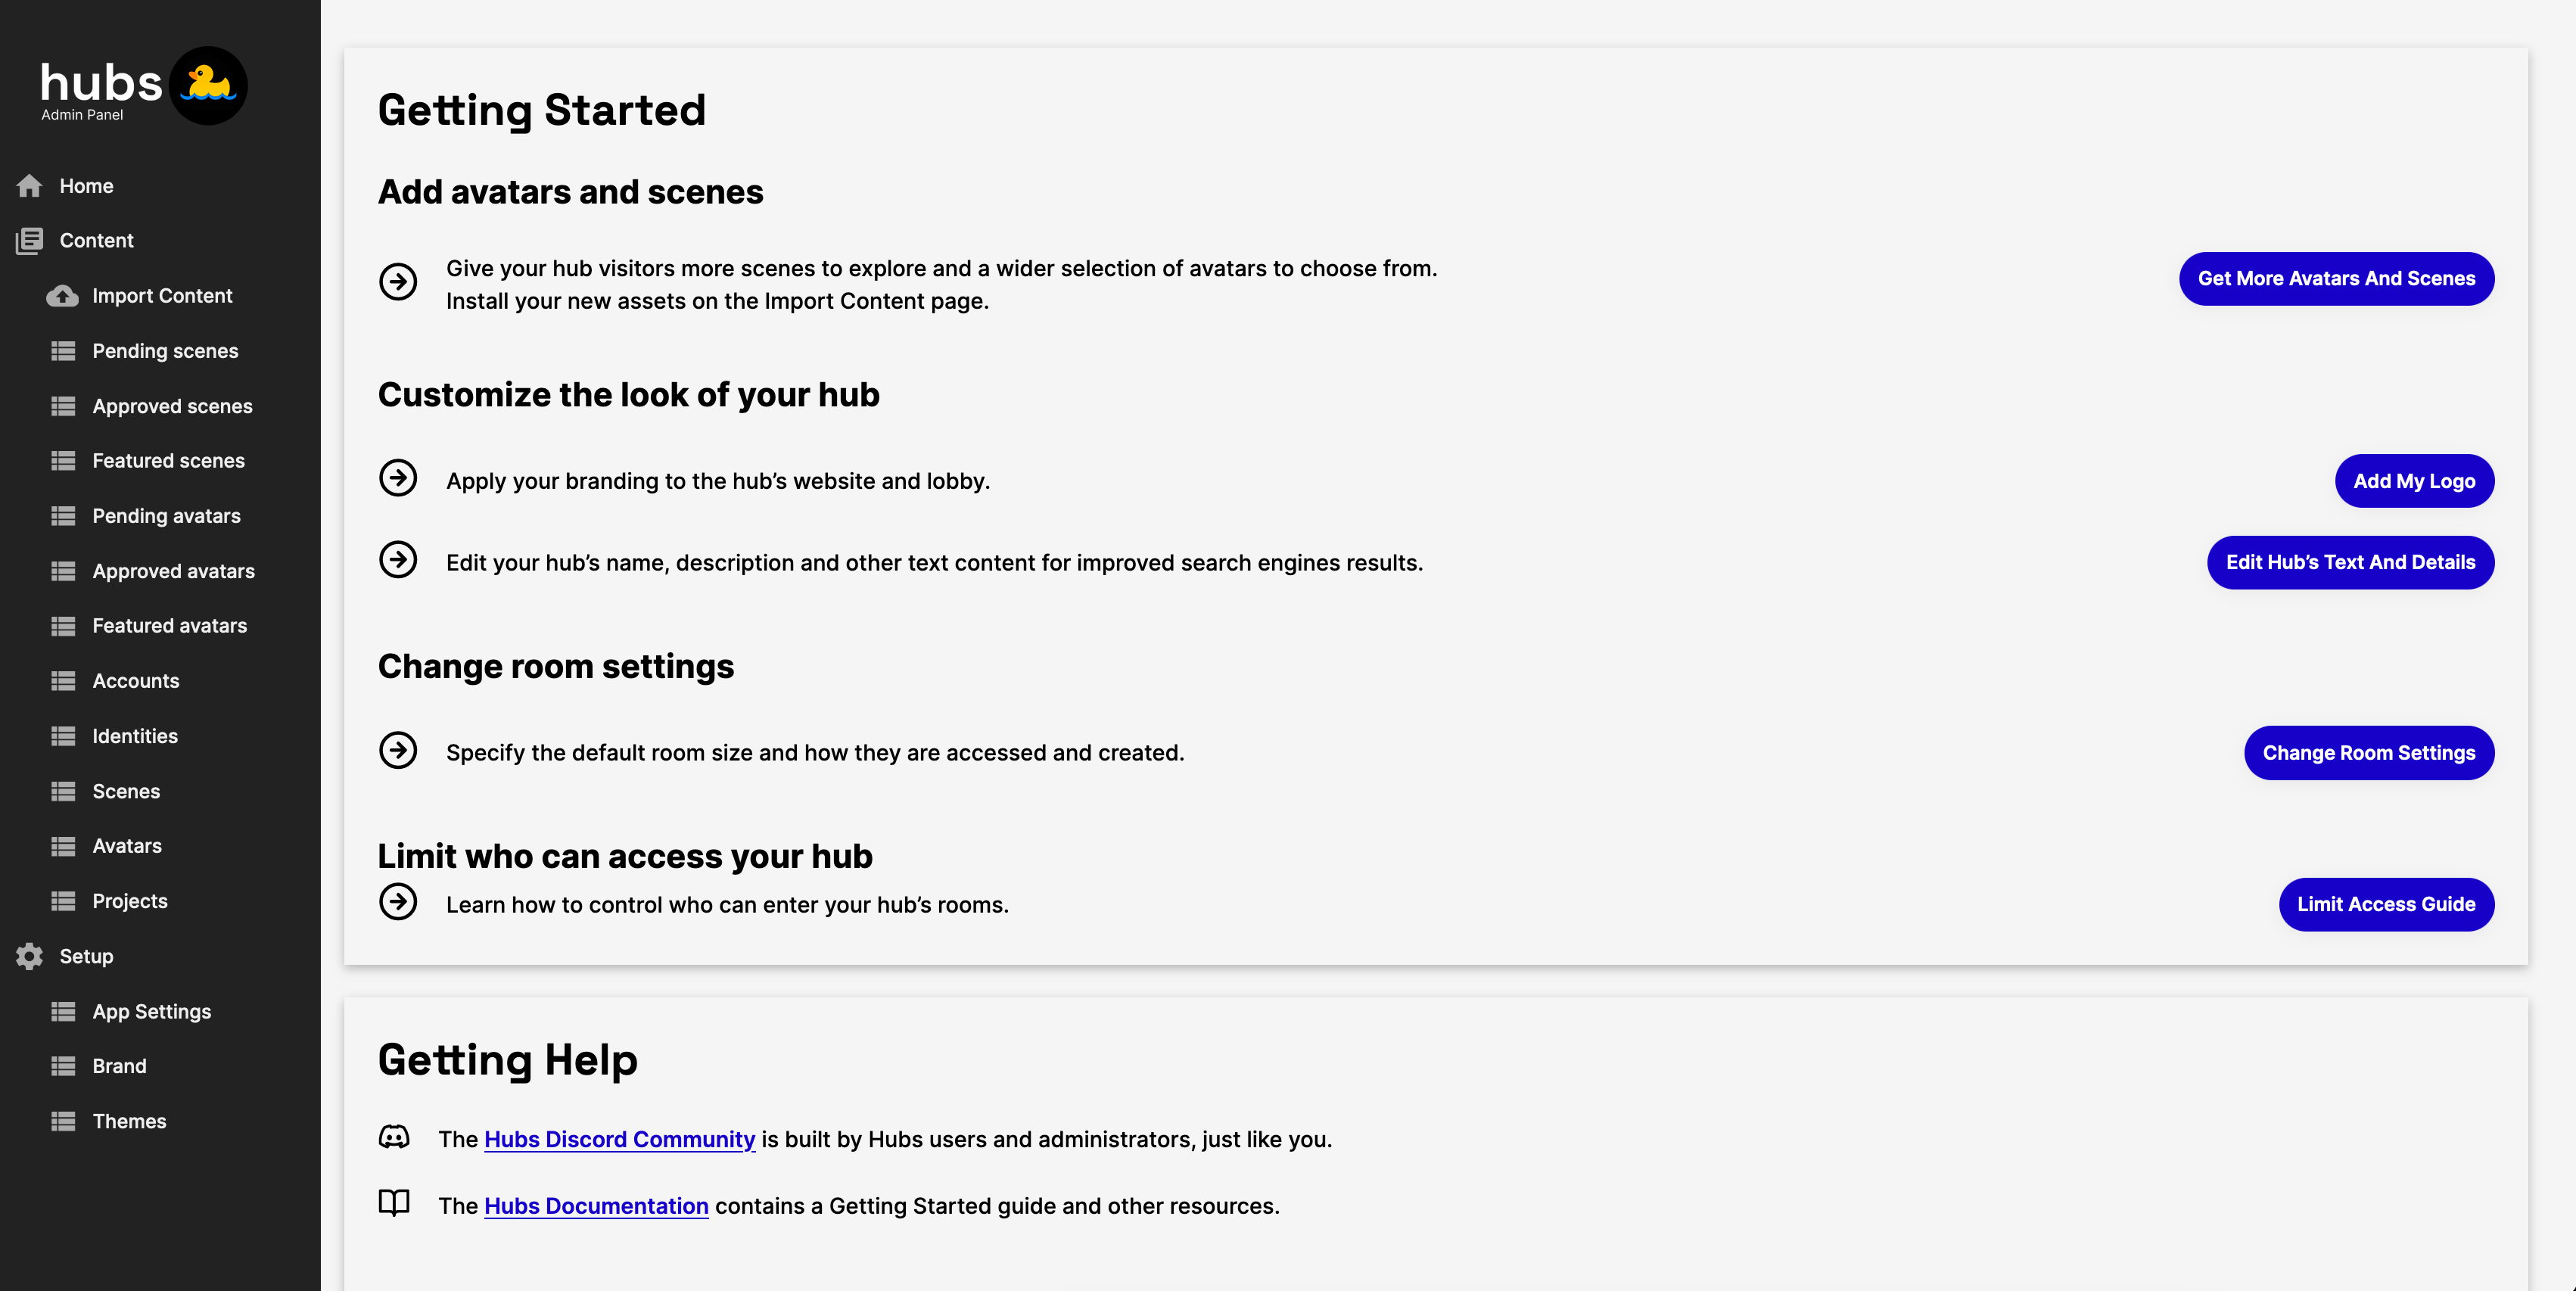
The Admin Panel is a dashboard that allows you to control your hub's default appearance and features, as well as the discoverability of scenes and avatars uploaded to your server. When you create a new hub, the email associated with your subscription will be the only account with access to the admin panel. You can, however, allow others to access the admin panel using the Accounts tab.
Spoke is our in-browser scene editor that allows you to upload media (3D models, videos, audio, images, etc.) and build custom environments that your hub's visitors can explore. By default, all users joining your server can use Spoke (and upload their own media), however you can modify this default behavior by using the App Settings "Features" tab to toggle the "Scene Editor".

Together, the Admin Panel and Spoke allow you to fully control the content that users may encounter when joining your Hub.
Default Content
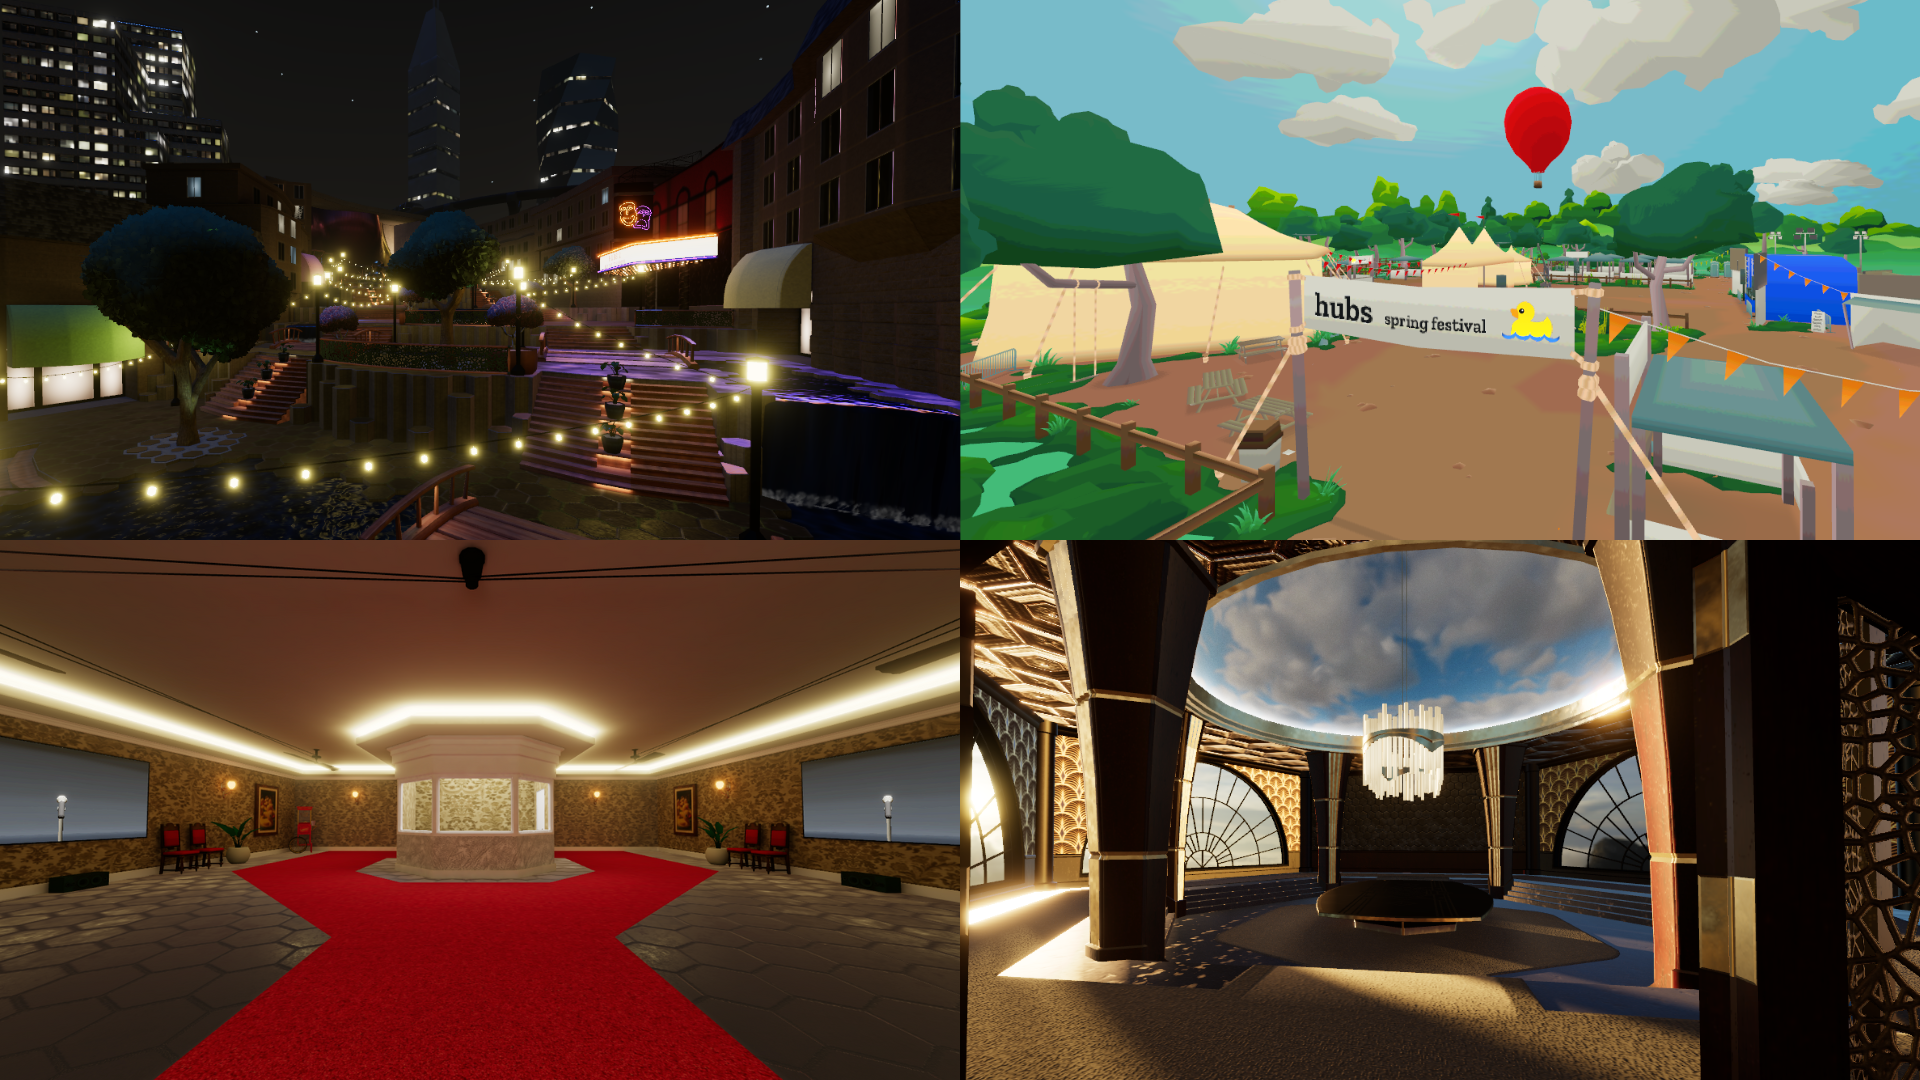
Each new hub comes with a selection of logos, themes, scenes, and avatars that have been developed by the Hubs team. To learn how to remove these default assets, see Managing Content Storage.
![]()
Importing and Migrating Content
The Import Content tool on the Admin Panel makes it easy to share and rehost assets developed by Hubs or other members of the Hubs community.

It is important to note that only a few url types are supported by the import tool...
- Hosted Avatar Urls (ex. yourdomain.com/avatars/4Ka33qb)
- Hosted Scene Urls (ex. hyourdomain.com/scenes/Rpt8DJS)
- Hosted .pack files (ex. raw.githubusercontent.com/hubs/master/asset-packs/avatars-animals.pack)
How to Use the "Import Content" Tool
- Copy and paste the link(s) to the asset(s) you would like to import and select "Preview Import".
- In the import preview, verify that the asset thumbnail looks correct and select any tags you would like to apply to the asset (for more on asset tags, see Managing Scenes and Avatars - Asset Tags).
- Select "Import" and wait for the assets to be rehosted.
Managing Scenes and Avatars
The Admin Panel is used to manage any scenes or avatars that have been uploaded to your hub. In the left-hand toolbar, you can see eight tabs corresponding to scenes and avatars...
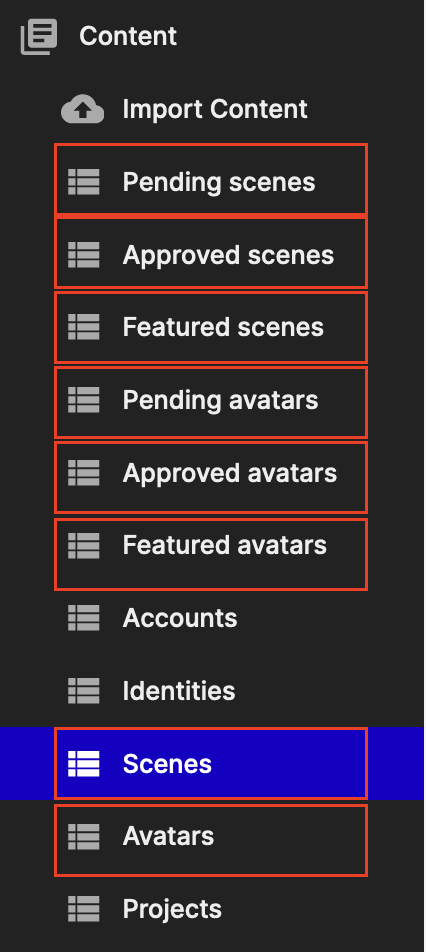
Each of these tabs filters assets based on their state and tags. At the top of each tab, you can search by id or name to see if any assets are included in that category.

Asset State
Asset State is the primary method of controlling a piece of media's discoverability. An asset can have any of four states...
- Active - the asset will appear in "Approved" tab and be discoverable to users browsing in-world.
- Pending - the asset will appear in the "Pending" tab and cannot be discovered by any users.
- Delisted - the asset will only appear in "Scenes" or "Avatars" tab and cannot be discovered by any users other than the one who uploaded it.
- Removed - the asset is removed from the database and is not usable by anyone.
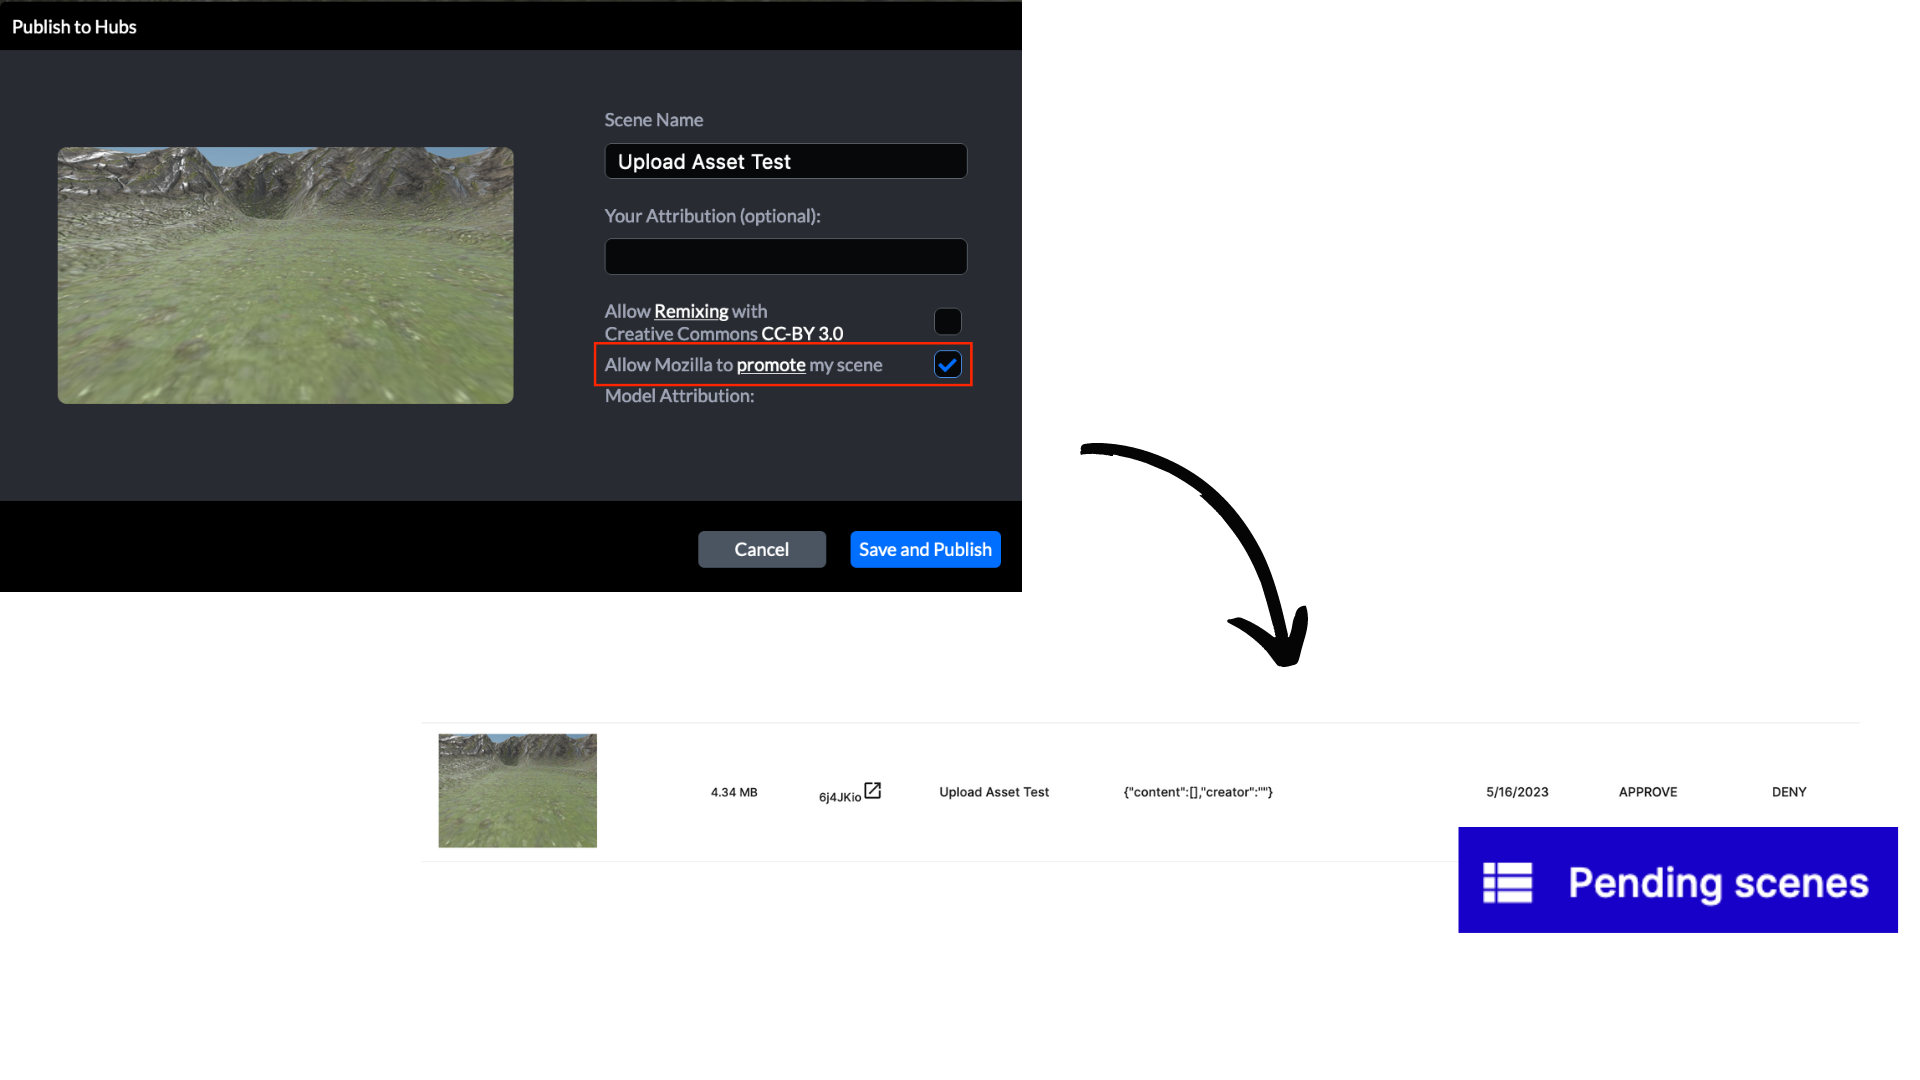
By default, any assets uploaded by users who select "Allow Hubs to promote my scene/avatar" in Spoke or in-world using the "Create Avatar" button will be assigned the "Pending" state and await admin approval in the "Pending" tab before being made discoverable. While "Pending", the user who uploaded the asset can still access it.
Any assets uploaded via the admin panel are automatically assigned the "Active" state, including them in the "Approved" tab and making them discoverable to other users.
Asset Tags
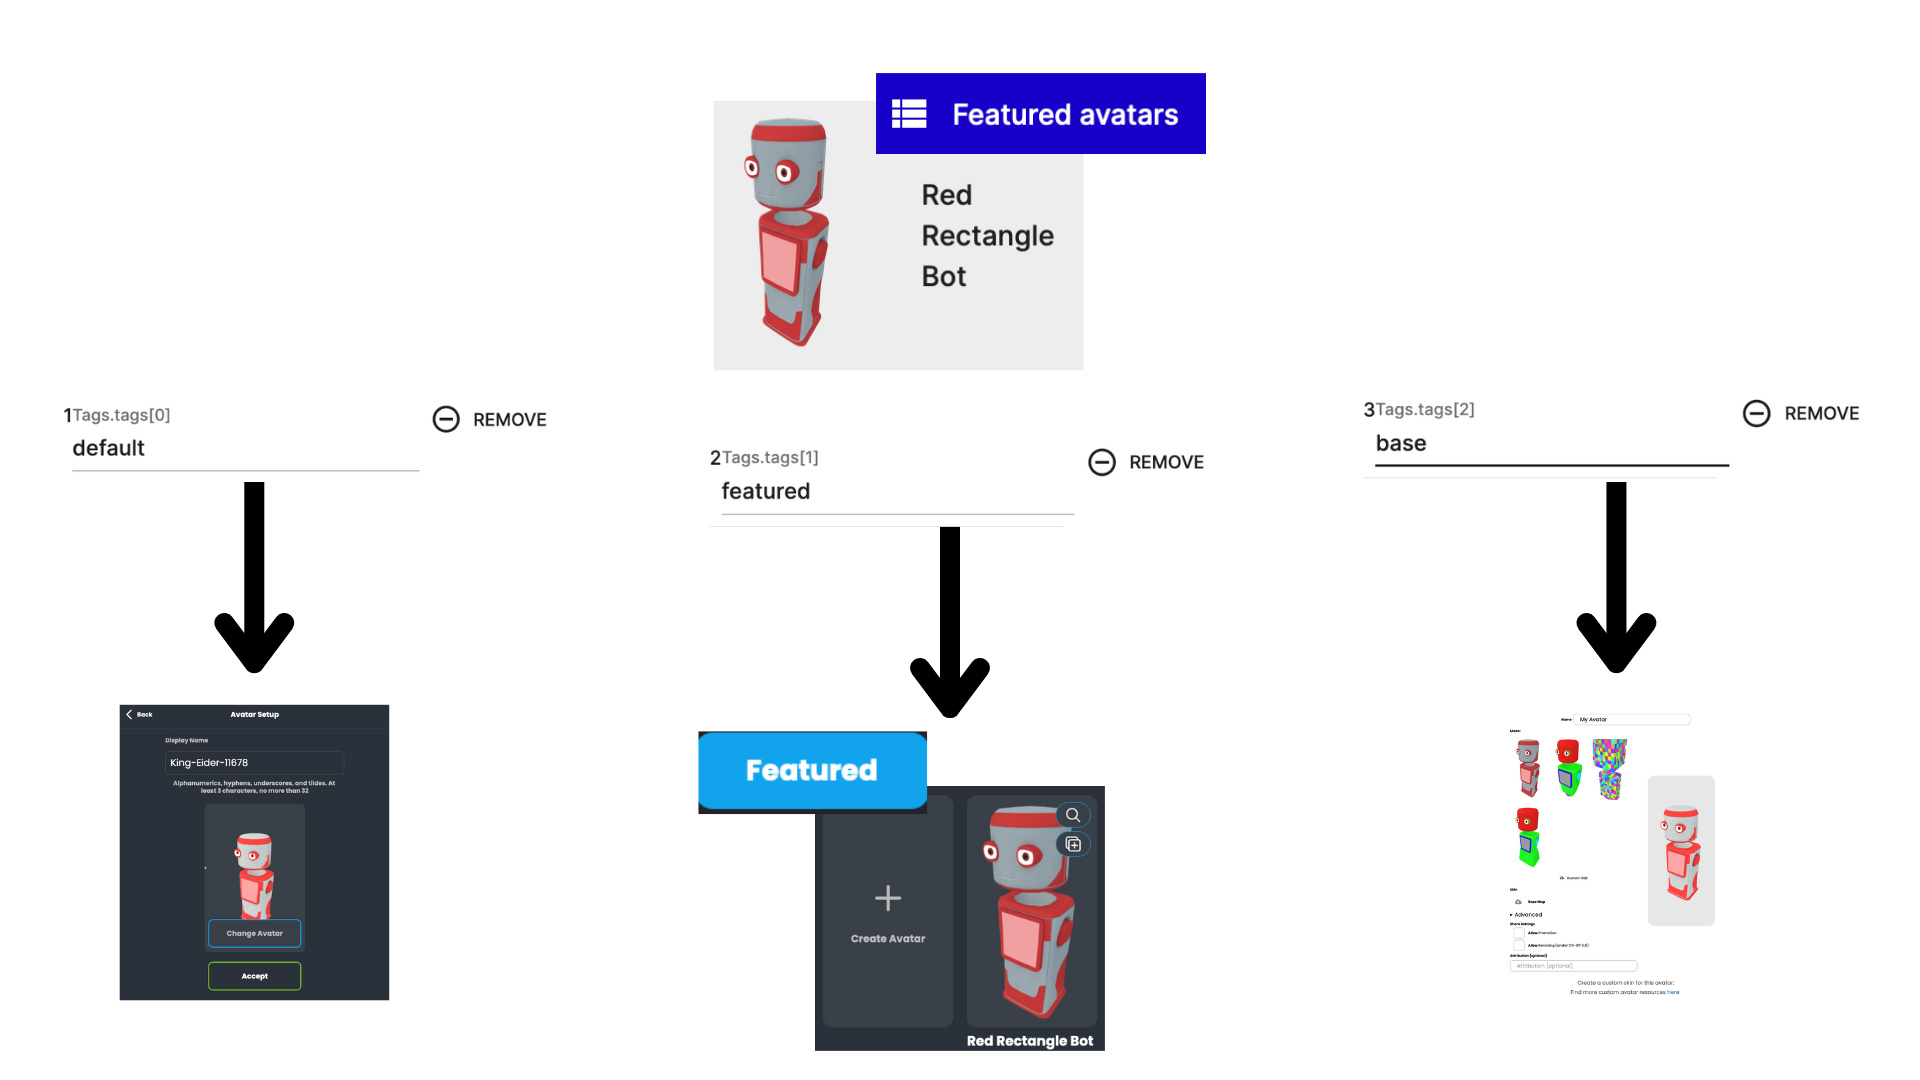
Asset tags allow you to control how discoverable an "Active" asset is. To edit tags, an asset's state must be "Active", including the asset in the "Approved" tab of the admin panel. There are three tags you can add to an asset...
- featured - The asset appears on the "Featured" tab of both the Admin Panel and when users are browsing scenes and avatars in world.
- default - A user joining as an avatar for the first time or creating a room using the "Create A Room" button will be the randomly choose from all assets with the "Default" tag.
- base (for Avatars only) - User can reskin this avatar asset with their own uploaded image. Re-skinned avatars uploaded as unique avatar assets, which can then be controlled in the admin panel.
Asset tags are case-sensitive, so be sure to use the exact spelling and capitalization seen above.
Asset Order
Assets with the "Featured" tag can be given an order number to control the sequence in which they are displayed to users browsing for scenes and avatars. Order filters from low-to-high, meaning any asset with the order number "1" will be displayed first. Two assets can be given the same order number; if two assets have the same order number, the most recently uploaded asset will display first.
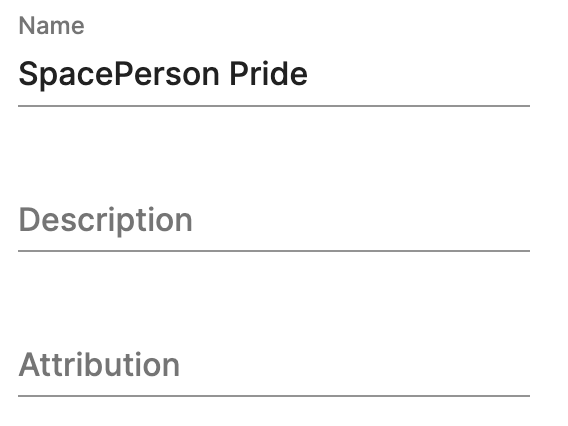
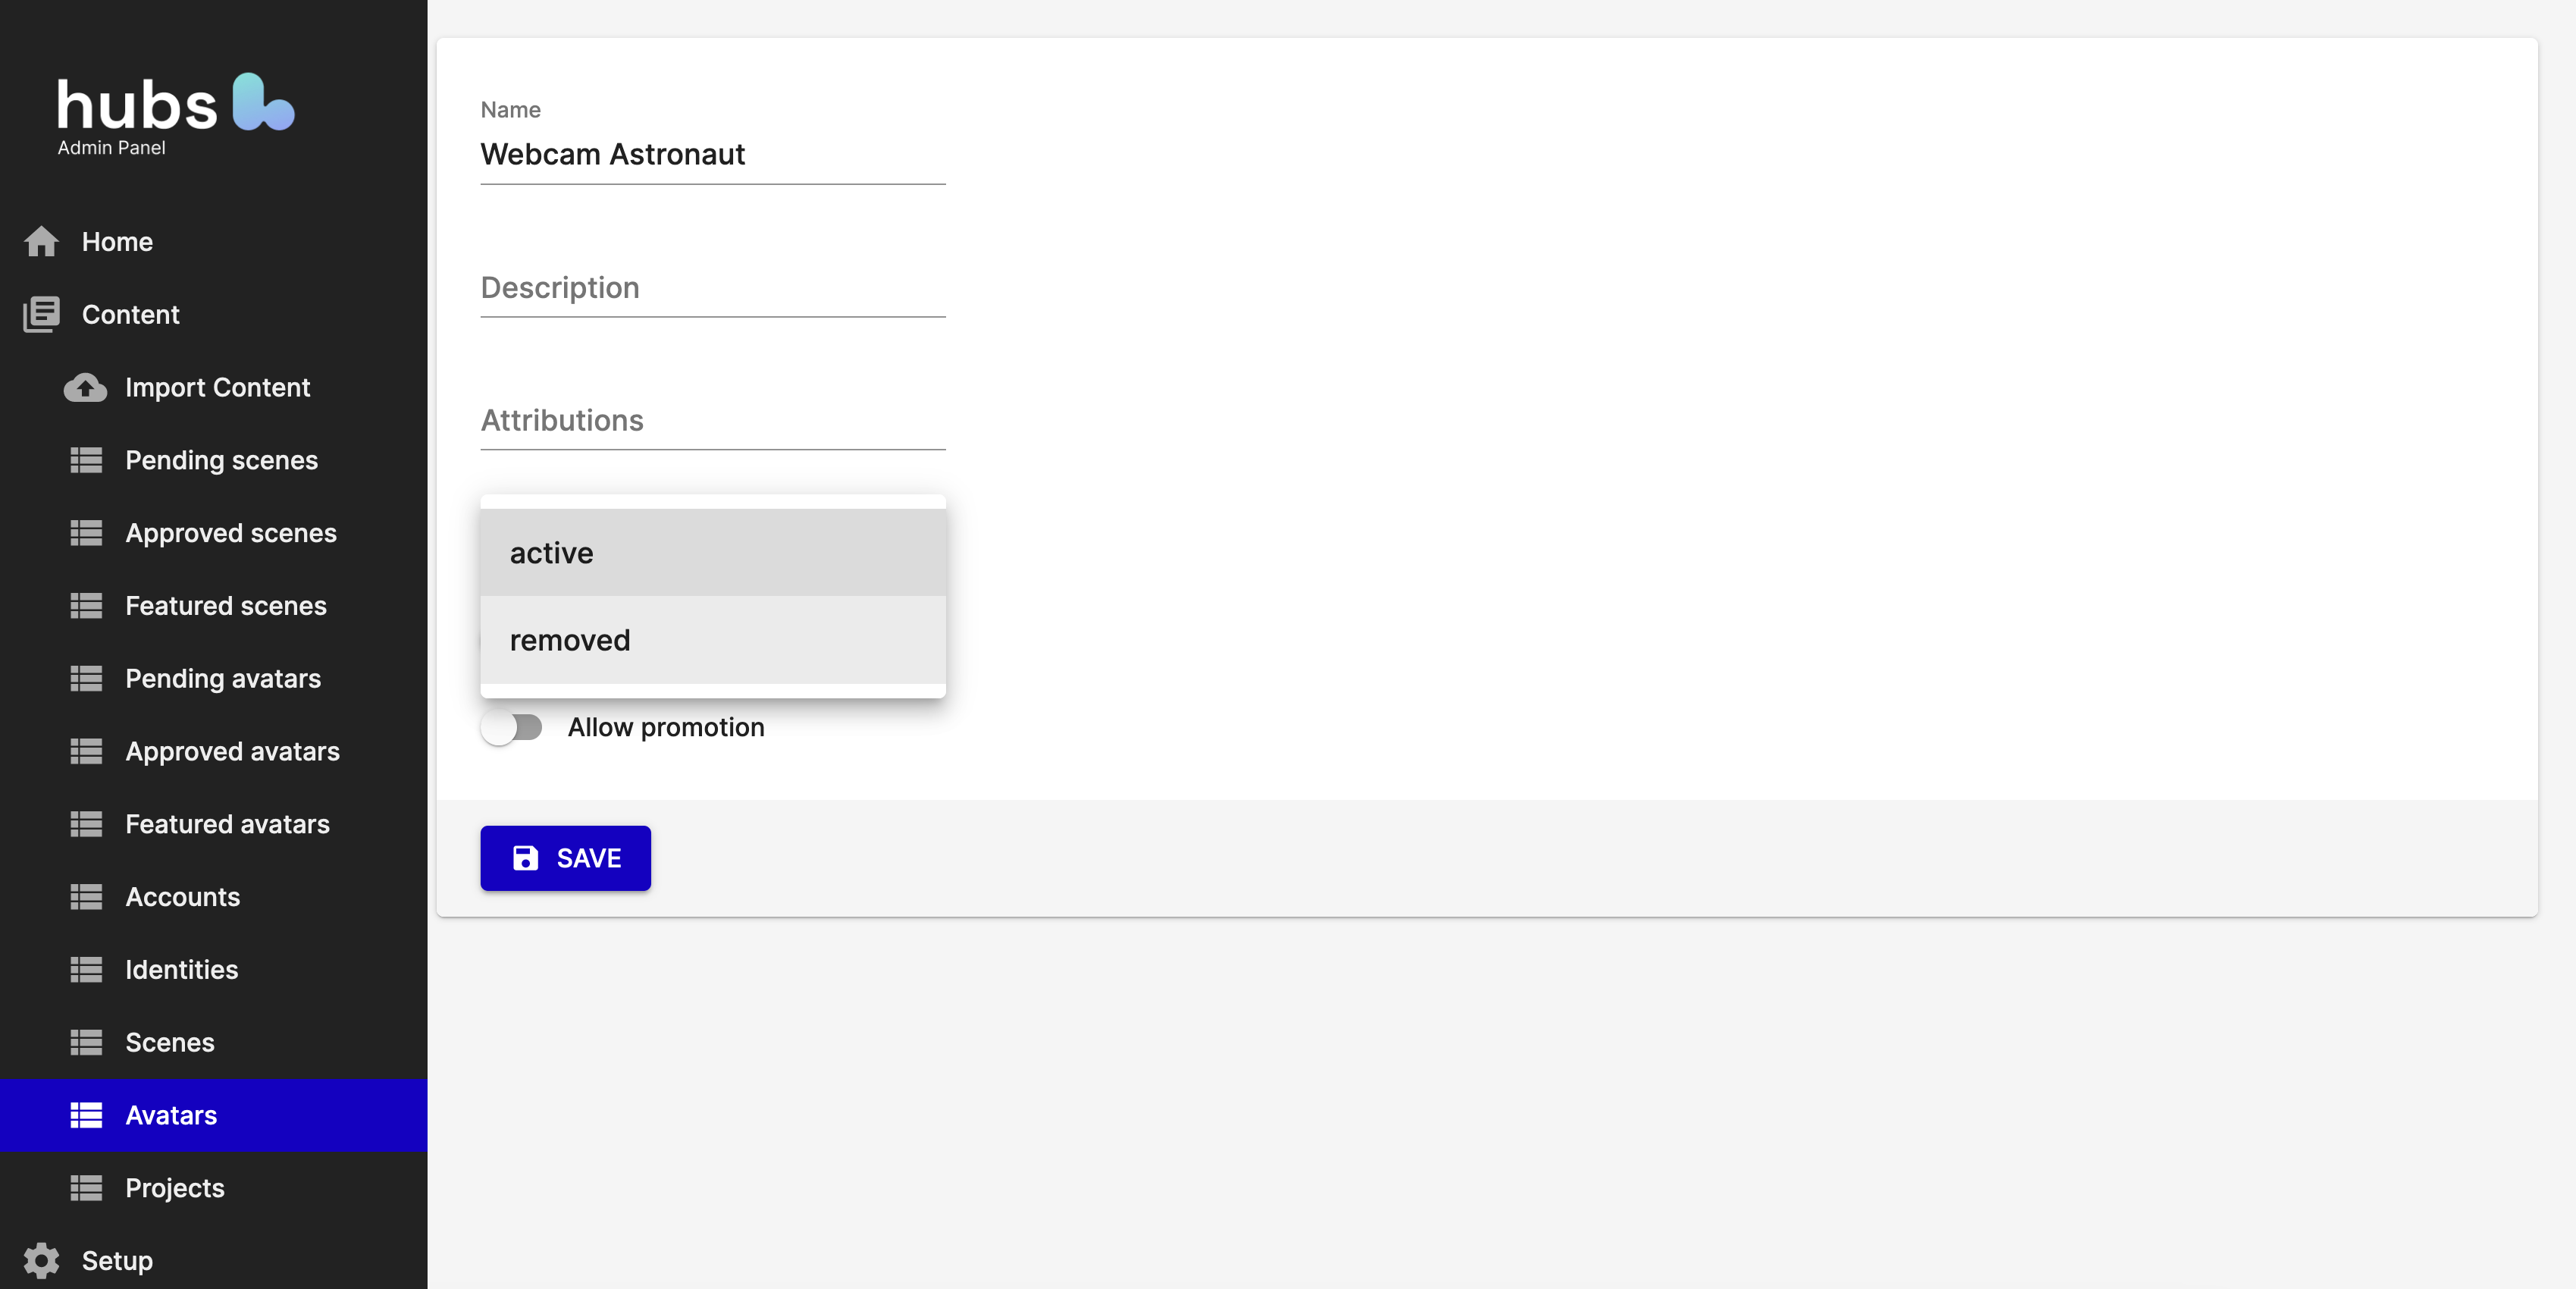
Asset Description and Attribution
To properly describe and credit creators of a certain asset, you can add in description and attribution details that will display whenever a user is encountering that asset.
Managing Content Storage
As you upload content to your hub, you are adding more items to the server's database that contribute to the your hub's content storage limit.
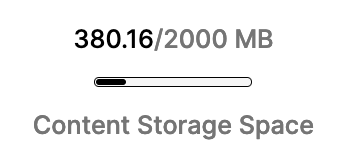
The largest contributors to content storage are media used to build environments in Spoke, as well as any avatars and scenes you have rehosted using the "import content" tool on the Admin Panel. Room urls, user accounts, and spoke projects also contribute to the usage limit, but to a lesser degree.
In addition to regularly checking your usage limit, there are a number of features you can disable in App Settings to limit users' ability to upload files, decreasing the risk of unexpected data build-up. Specifically look at the Features and Room Settings
You can also lower your content storage by removing unwanted assets in Spoke and the Admin Panel. PLEASE NOTE: When removing assets with the following methods, it may take up to 3-days for your subscription dashboard to update your content usage.
Deleting Assets In Spoke
Assets in Spoke are associated with individual email accounts (you will not be able to delete the assets of another user if you do not have access to their email account).
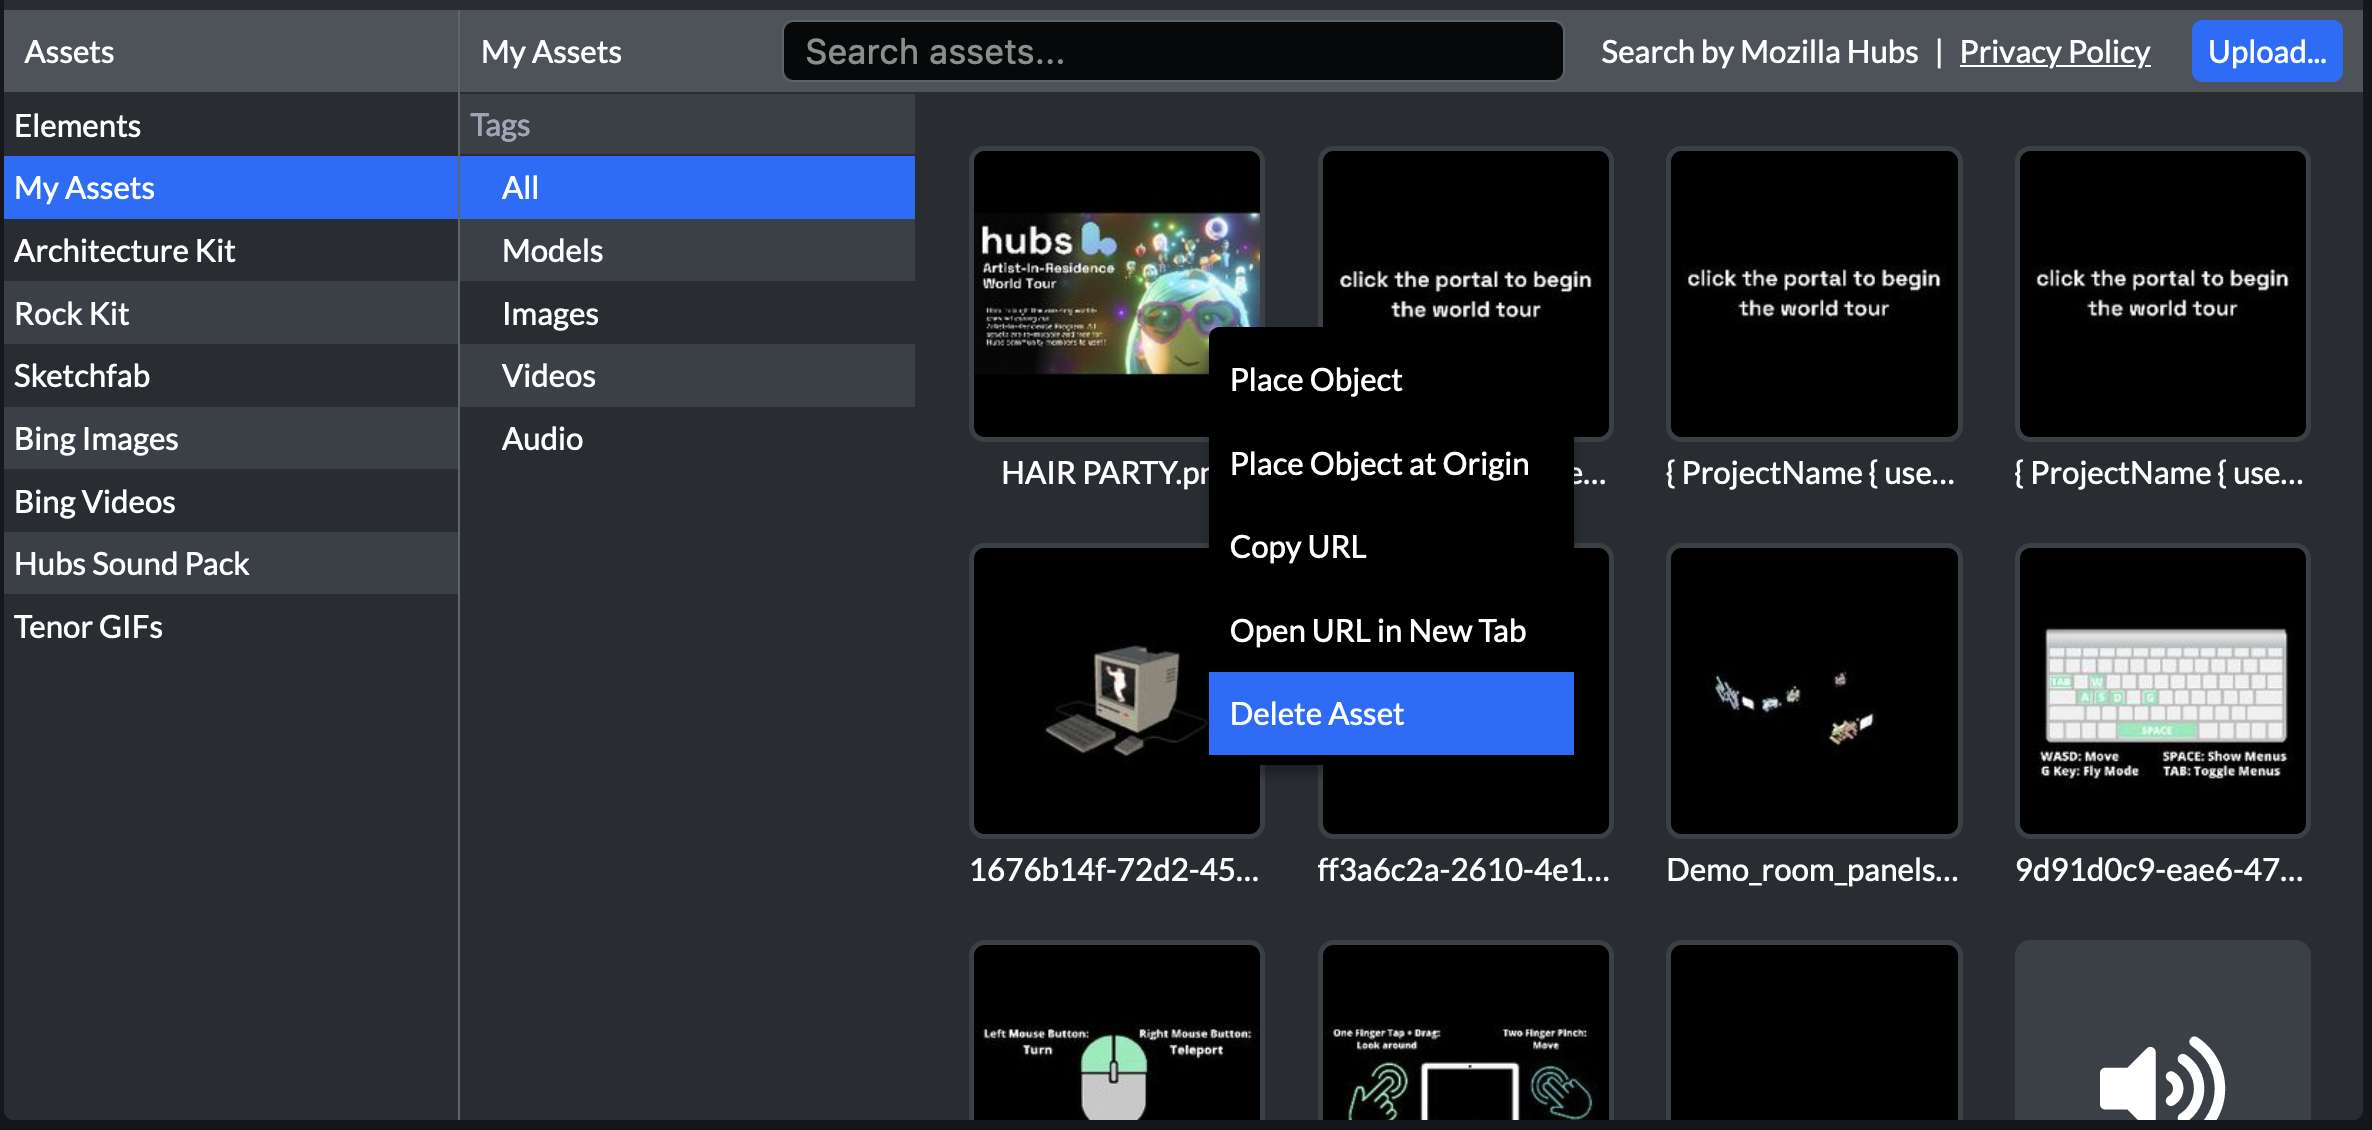
- After signing-in to Spoke, go into any project and locate the assets interface in the bottom of the screen.
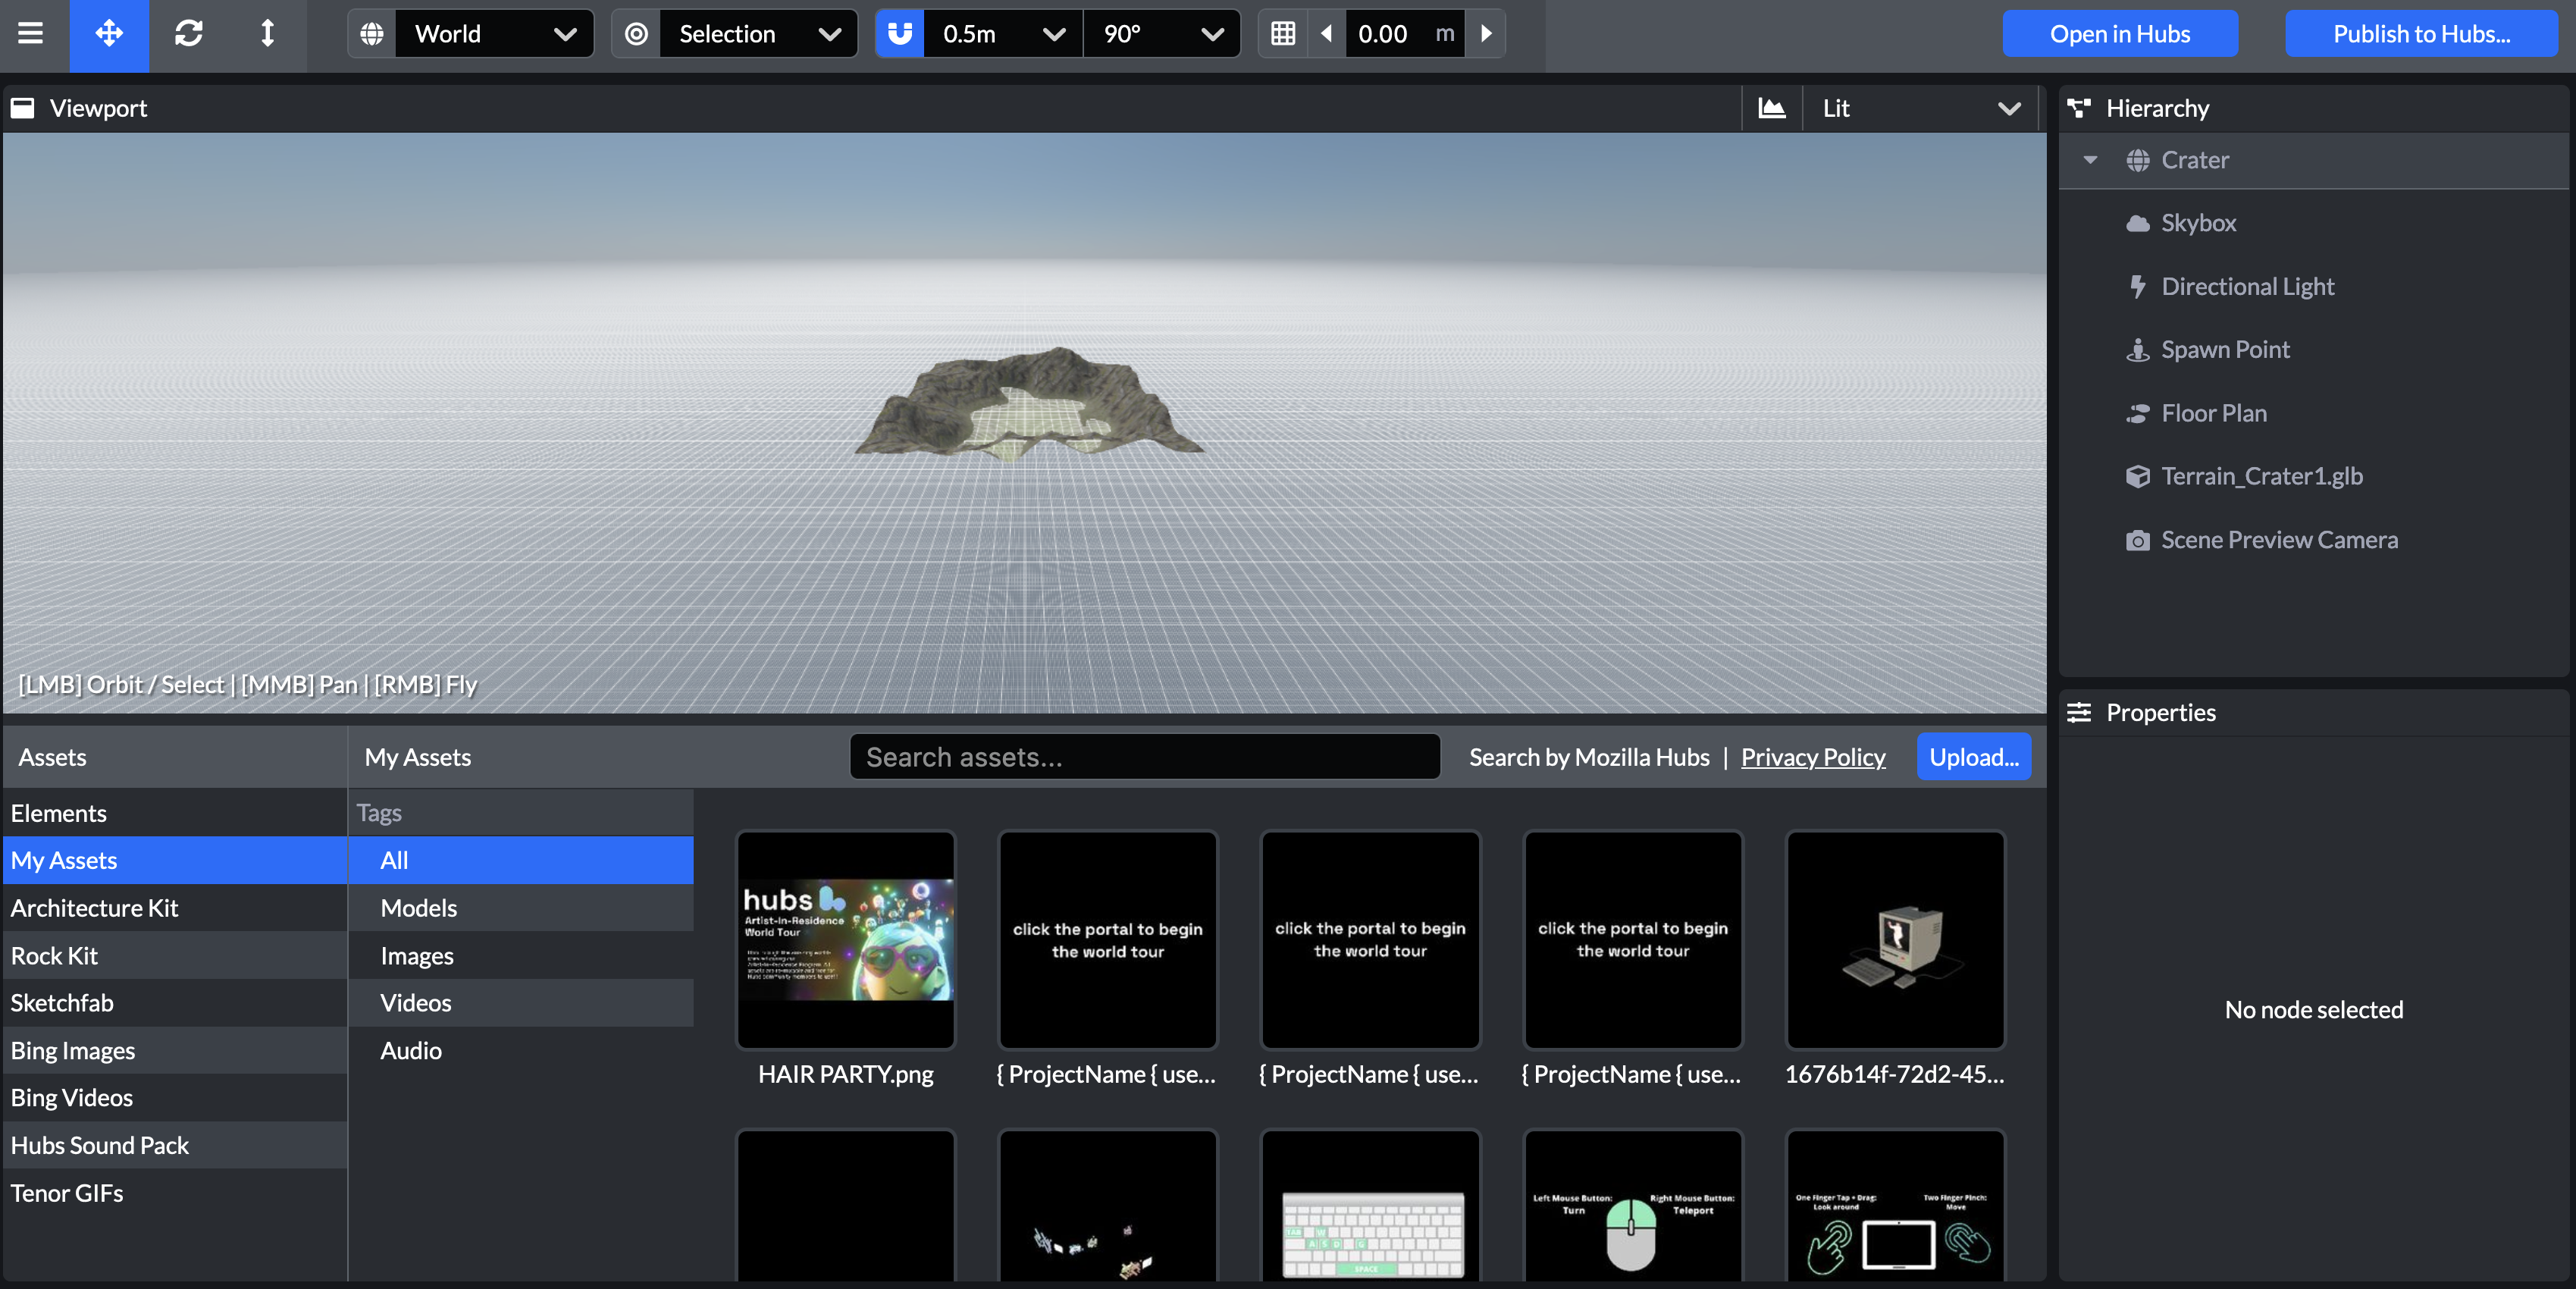
- Click on the "My Assets" tab in the lefthand toolbar. From here you can sort by asset type and right click on any asset you wish to delete. In the pop-up, click "Delete Asset" to remove it from the database.
Deleting Assets In The Admin Panel
- Navigate to the "Scenes" or "Avatars" tabs in the left-hand toolbar.
- Click "Edit" on any avatar or scene you wish to remove and set its State to "Removed".
After this is complete, you will see that the avatar has been grey-ed out and that it is no longer accessible by its avatar url.
Accounts and Identities
The Accounts tab of the Admin Panel indexes all users who have signed-in to your hub with an email address. For privacy reasons, all emails are hashed to protect user data, however it is possible to search for specific email addresses to verify individual user accounts. When you edit a user's account, you have the option to make them an admin in order for them to have access to the Admin Panel. Making a user an Admin will NOT let them manage your Hubs Subscription. PLEASE NOTE: You should never remove the account using the email associated with your Hubs account!!!
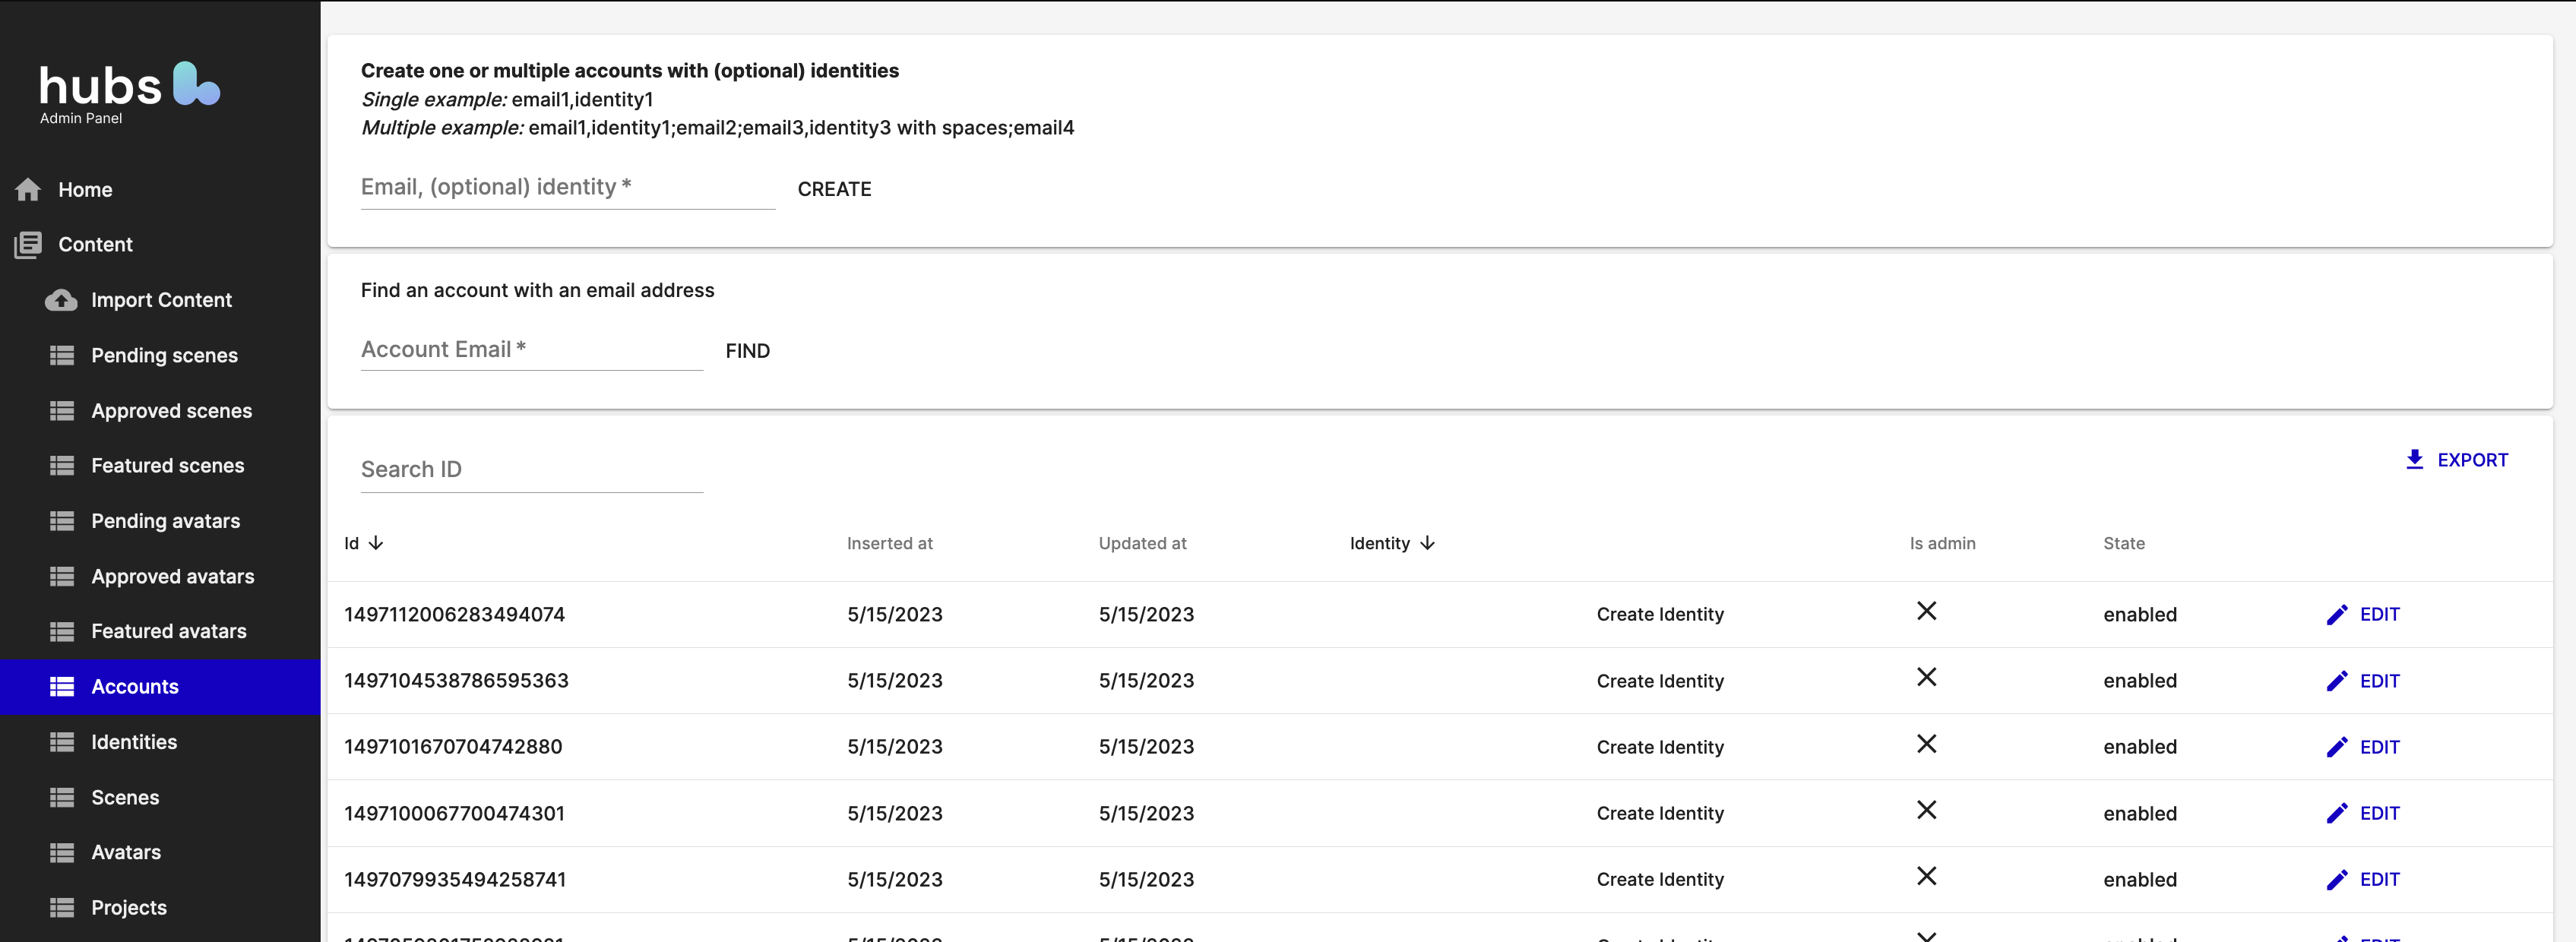
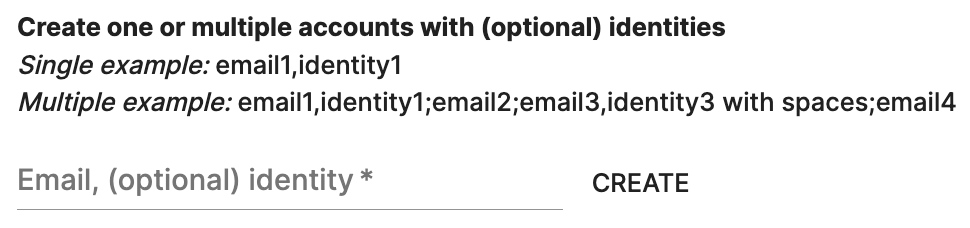
Adding Admin Accounts
If the account you wish to promote has not yet been created, use the create account form to create a new account with the user's email.
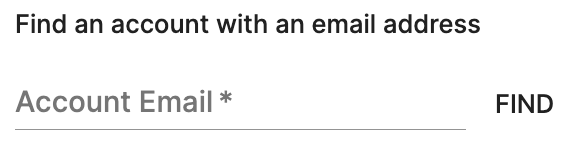
If the account you wish to promote has already been created, use thefind account feature to search for the account of an individual email.
Select the edit button next to the account you wish to promote.
In the pop-up, enable "is-admin" and save your settings.
Identities
Identities is a deprecated method for associating an account with a username. This feature is functional, but should not be utilized.
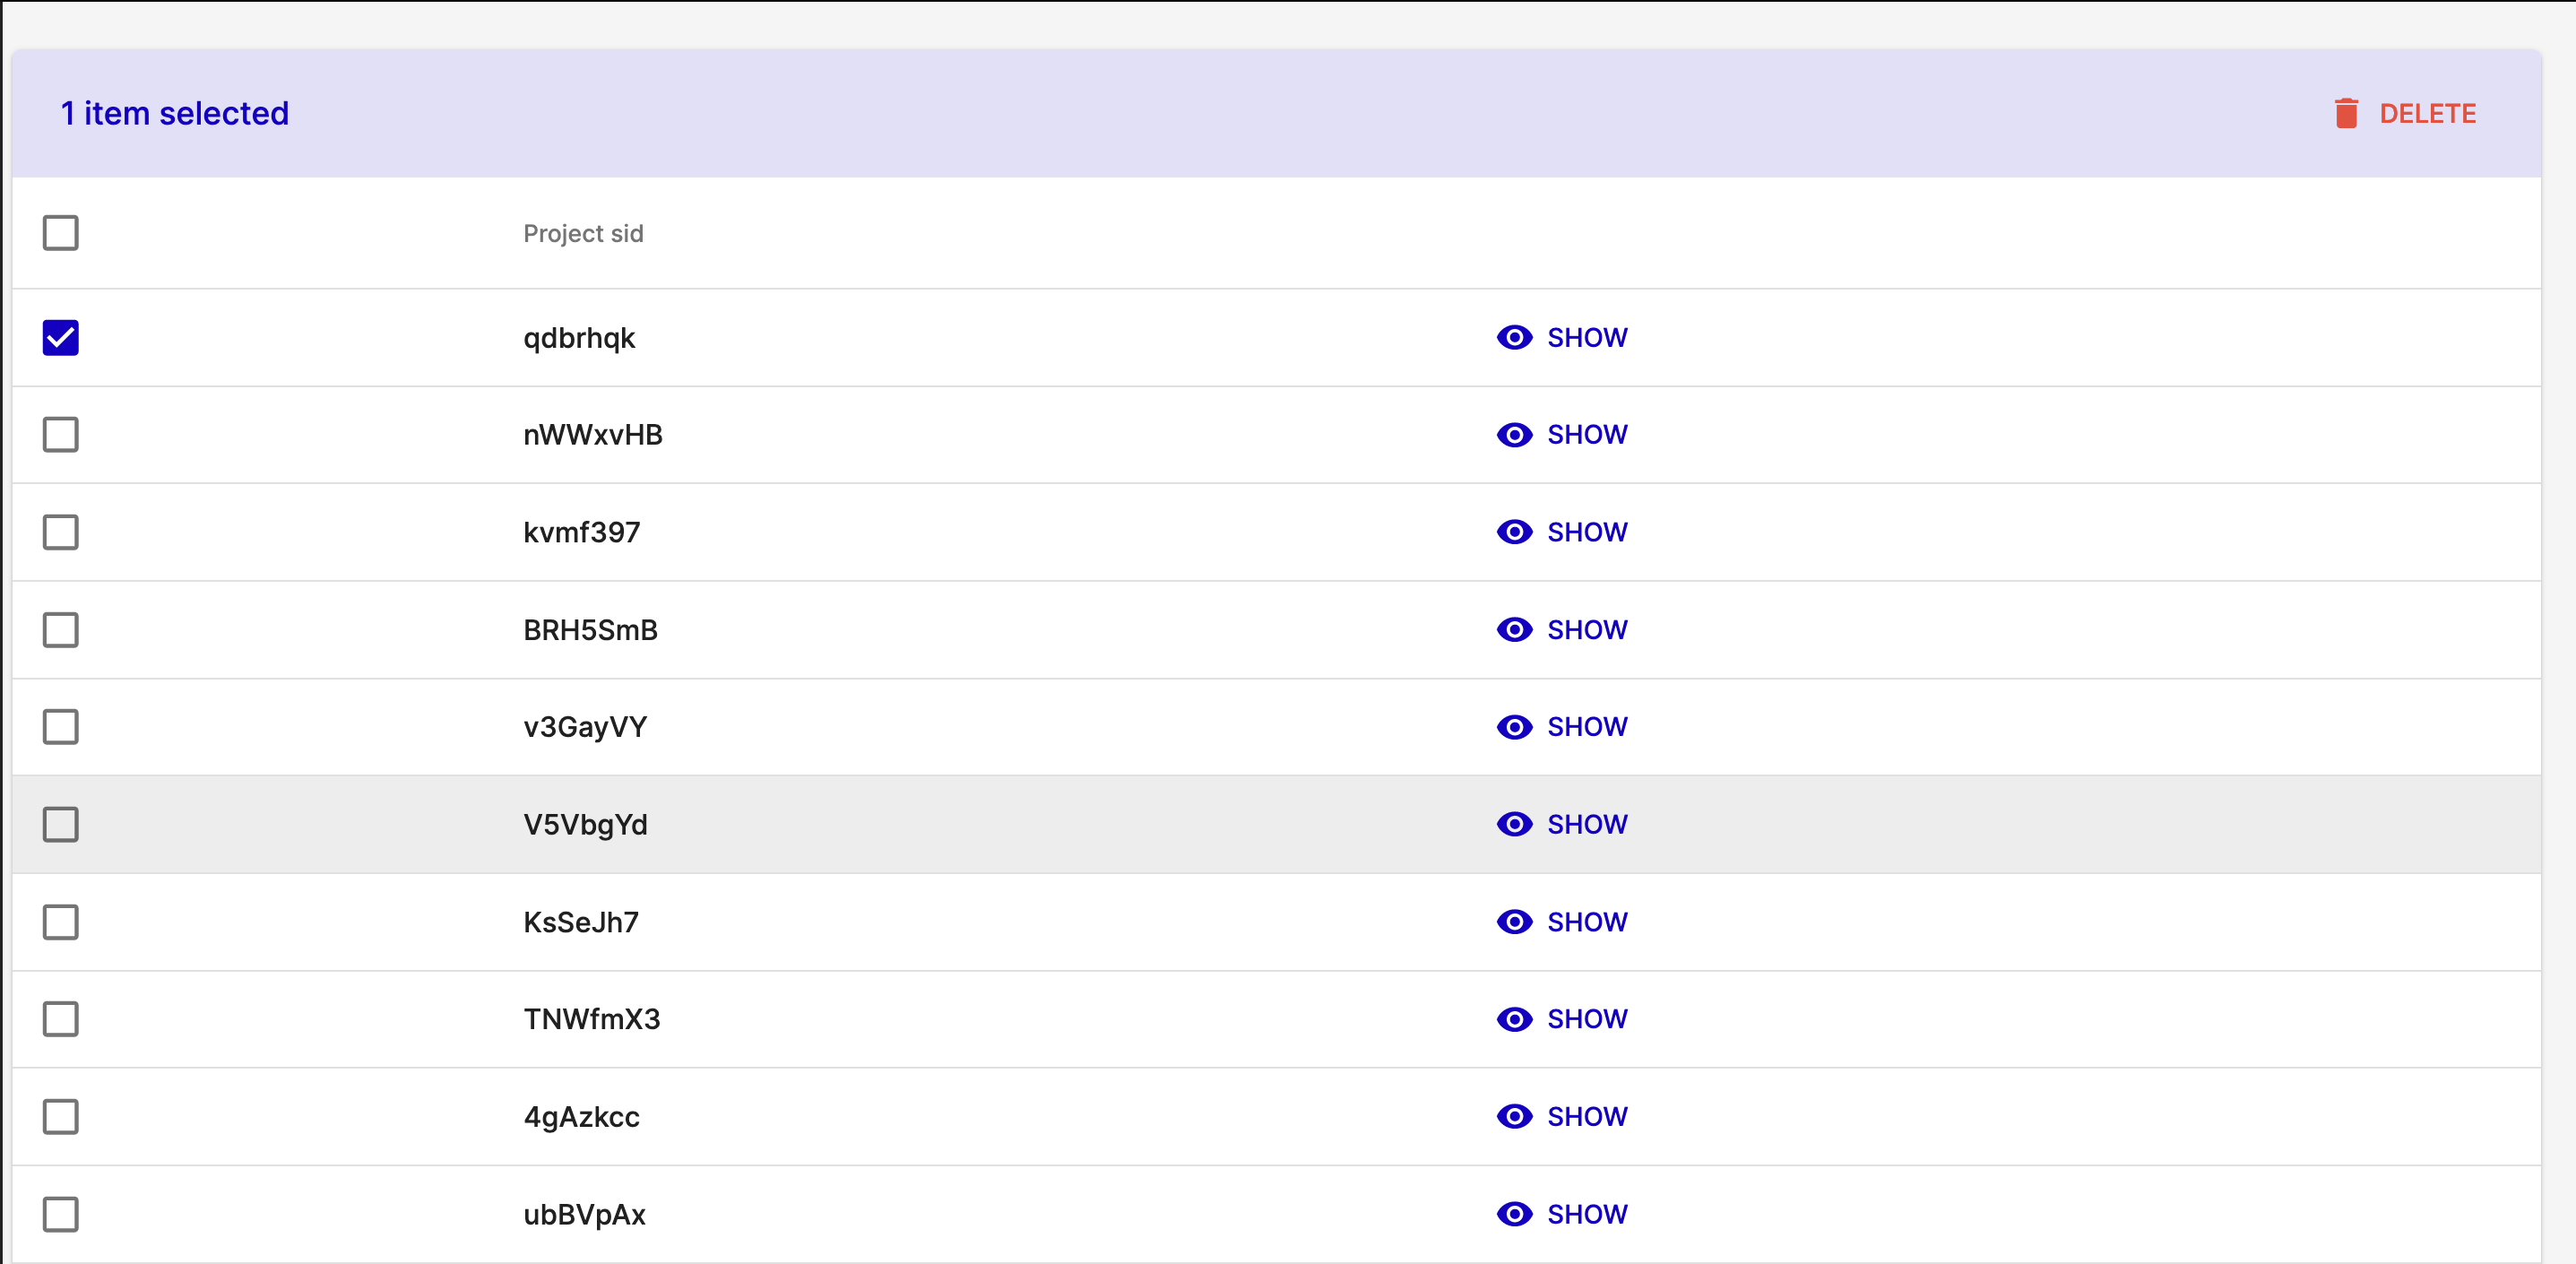
Projects
The Projects tab allows you to moderate any Spoke projects that have been created on your server. When you expand the details of an individual project, you are also able to download a version of their .spoke file. You can also select the check-box next to a project and manually delete it. Please note that this will not delete any asset data included in the project, just the project information itself.
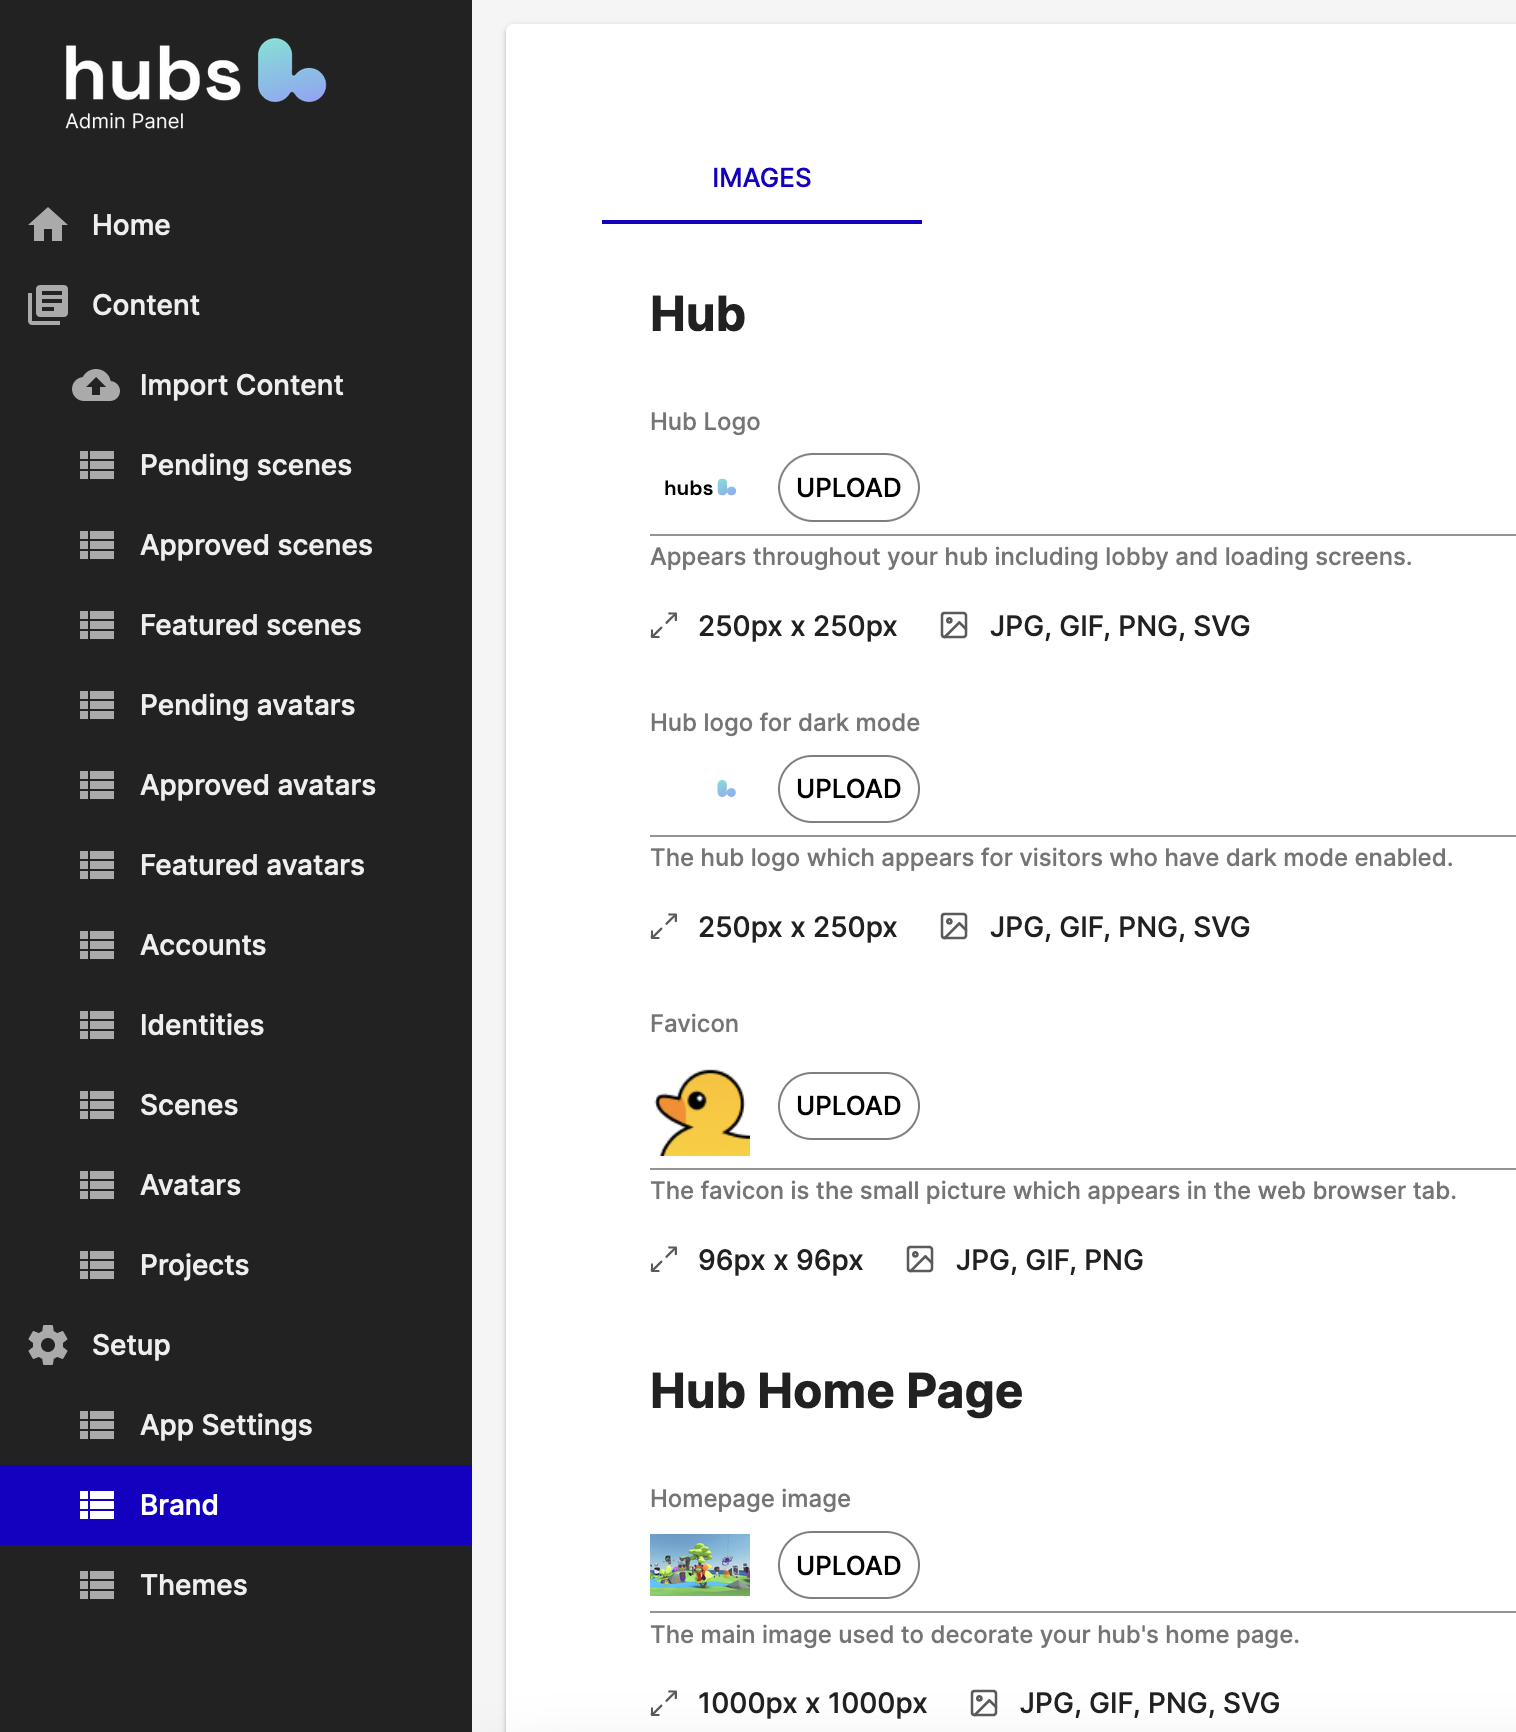
Logos and Brand Themeing
Depending on your subscription plan, your hub will allow you to customize the user interface's (UI) colors and logos. Under the "Setup" category in the Admin Panel, you can use the "Brand" tab to upload custom images. Supported file types are listed next to each logo type.
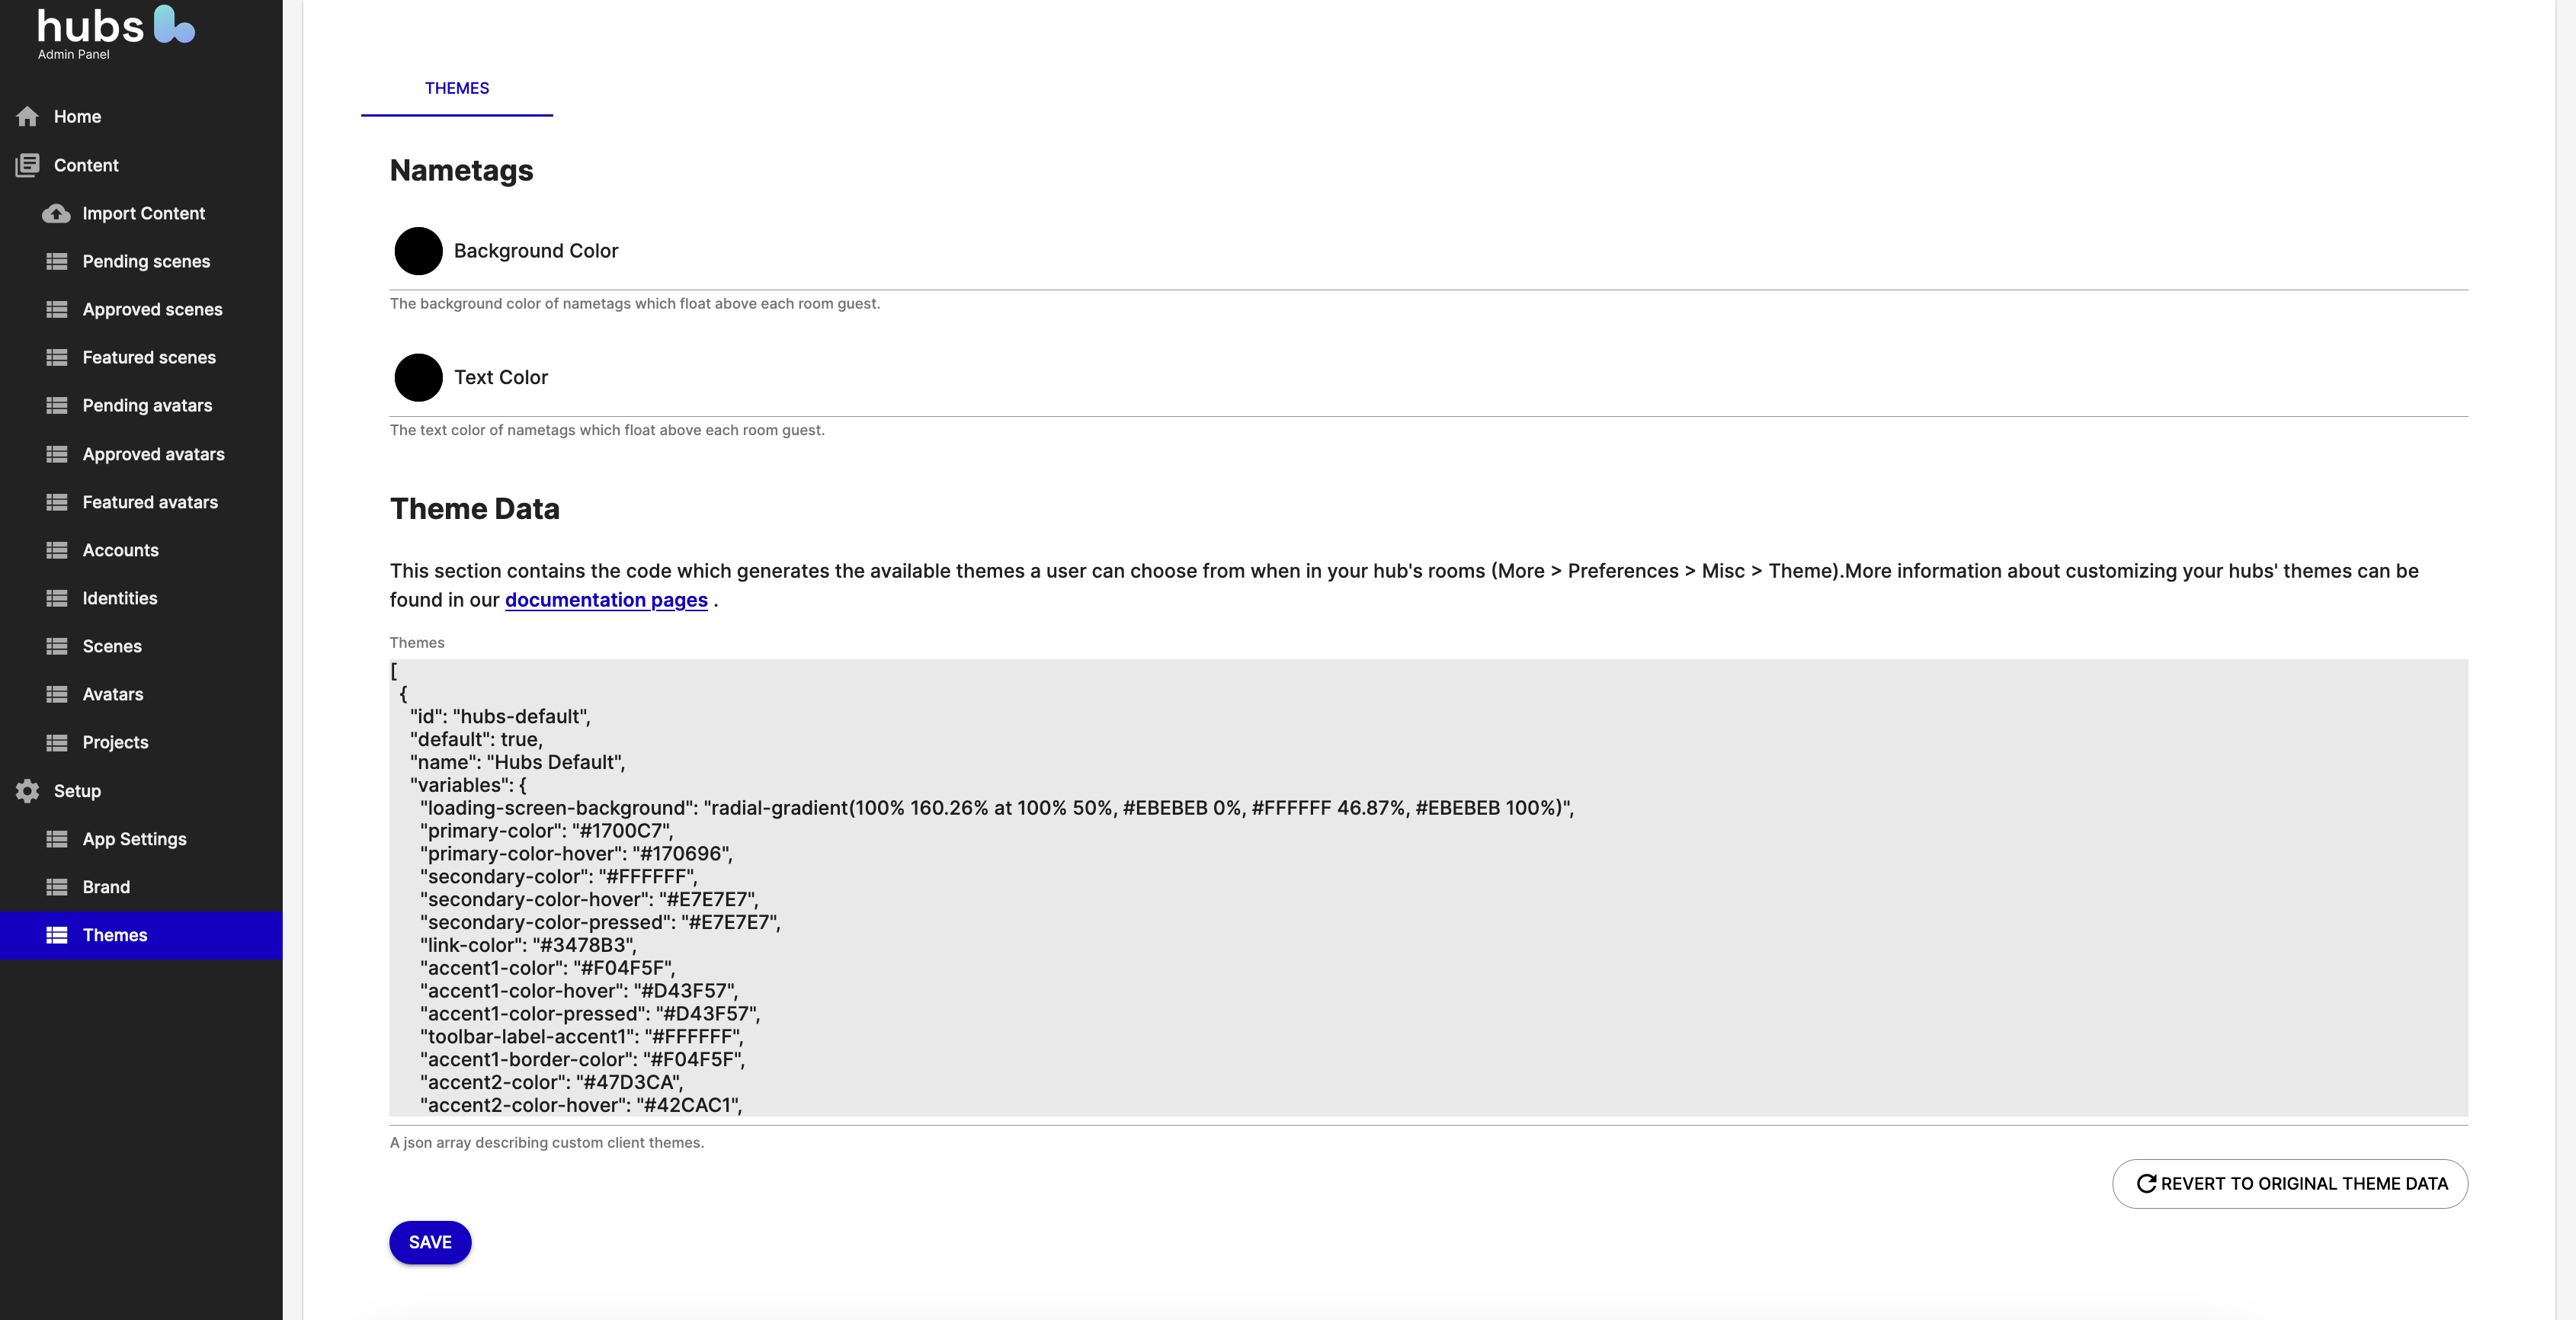
In the "Themes" tab, you are able to upload your own JSON theme-ing object to fully customize the UI colors of your hub. For more information on updating your hub's theme, check out this guide.
App Settings
App Settings allow you to control the default behavior, settings, and permissions of your hub and its user interface.
Translations (site identification)
| Setting | Description |
|---|---|
| App Name | The site name visible in the browser tab, on the magic link email, and room sharing preview |
| App Description | The description above the "Create Room" button on the homepage |
| App Tagline | The tagline underneath the company logo on scene urls |
| Company Name | The name included in Spoke and the in-app avatar creation tool when allowing the app owner to promote an asset |
| Share Hashtag | Hashtag included when sharing a photo, video or scene |
| Contact Email | The email listed on the static page displayed when a room owner closes the room |
| Community Prompt | This feature is deprecated and should not be utilized. |
Features
| Setting | Description |
|---|---|
| Account Creation | This feature prevents unpromoted users from creating accounts. This will prevent them from signing-in to Spoke and associating their email with any created rooms. |
| Terms of Use | Displays the link to the Terms of Use across the app. This includes the homepage, the Support section of the in-world settings panel, and the page displayed when a room is closed by a room owner. |
| Privacy Notice | Displays the link to the Privacy Notice on the homepage and under the Support section of the in-world settings panel. |
| Controls Links | Displays the link to Controls under the Support section of the in-world settings panel with a life-perserver logo. Is often the Controls page on this site |
| Docs Links | Displays the link to Docs under the Support section of the in-world settings panel with a life-perserver logo and the name "Help". Is often the root of this site |
| Features Links | This feature is not currently functional. |
| Community Links | Displays the link to Community on the homepage and under the Support section of the in-world app with the Discord Logo. |
| Company Logo | Displays the Company Logo uploaded under the Brand tab on the homepage, loading screen, and in-world. |
| Issue Report Link | Displays the link to Issue Report under the search bar on the in-app scene/avatar browser and under the Support section of the in-world app with the 'i' logo. |
| Avatar Pipelines Link | Displays the link to the Hubs' avatar pipeline documentation in the in-app avatar creation tool. |
| Model Collection Link | Displays the link to Model Collection when a user attempts to upload a custom asset url in-world . |
| Powered By Hubs | Displays the "Powered By Hubs" tag on the homepage and loading screens. |
| Public Rooms | Allows non-administrators to set rooms to be public, featuring them on the homepage. |
| Homepage Room ID | Replaces the homepage with a individual room. |
| Scene Editor | Allows all users to create Spoke projects. This feature will not operate when account creation is disabled. This feature is an important method of managing data usage. |
| Lobby Ghosts | Allows users who choose "Spectate" when entering room to move throughout the space as an invisible listener. |
| Public API Access | Allows admins to create API tokens and submit requests to the Hubs API. |
Rooms
| Setting | Description |
|---|---|
| Permissive Rooms | Enables/disables all room member settings when a new room is created. |
| Room Creation | Allows non-administrators to create rooms. This can be an important feature to limit data buildup on your server. |
| Accounts for Room Access | Requires new users to sign-in before joining any room url. |
| Default Room Size | The default room size of newly created room urls. |
| Maximum Room Size | The maximum room size allowed across your application. This feature is an important tool to manage your server's CCU limit. |
Links
These URLs correspond to the links enabled in the "Features" tab of App Settings.
Auth
| Setting | Description |
|---|---|
| Magic Link Email Subject | The subject line of magic link emails sent to users signing-in. |
| Custom Message | Customize the body of magic link emails sent to users signing-in. |