What’s next?
My Hubs is up and running, now what do I do?
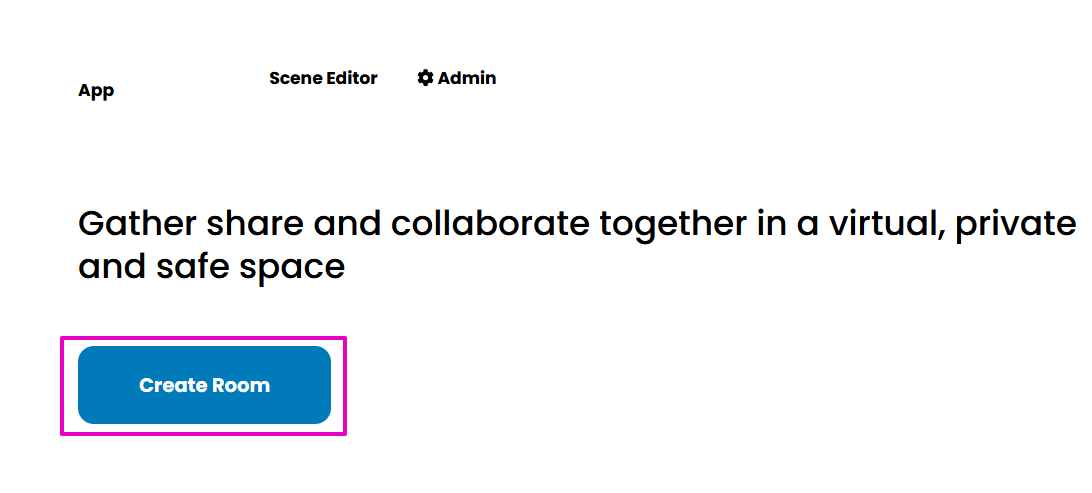
Create a room
You may want to select the button Create Room!
And this is what you’ll see, the fallback space. It’s gray ground with a dark gray sky. The avatars are the fallback box avatars.
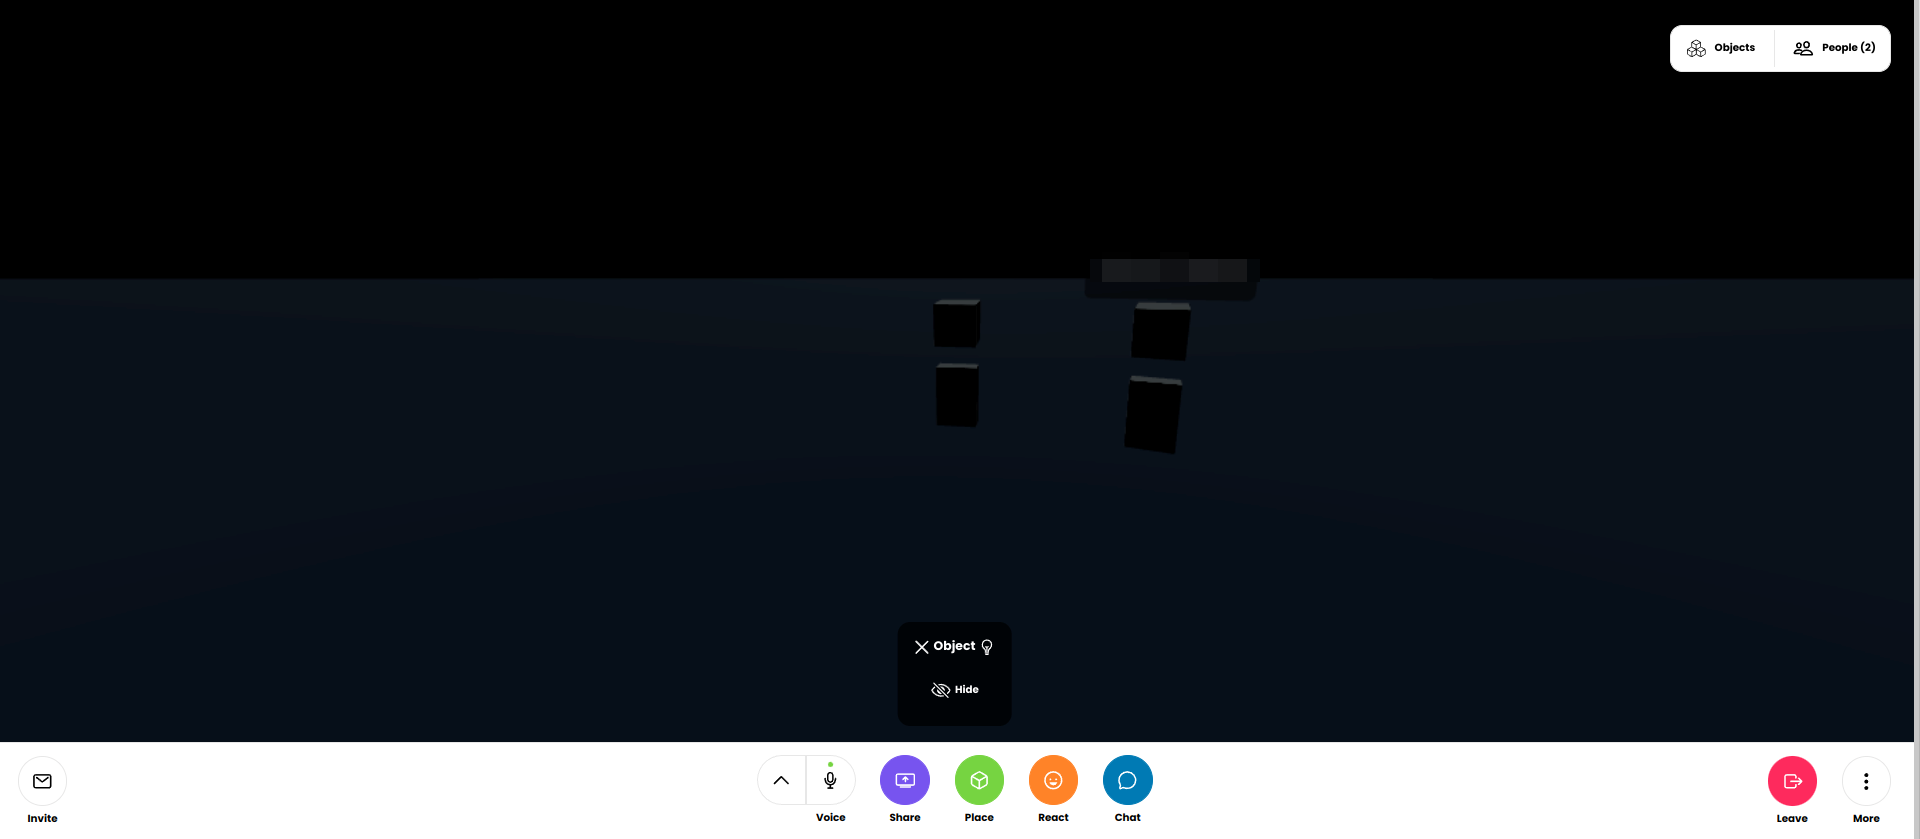
Eager to put up a scene? There are Hubs scenes available! Hop down to the Importing Scenes and Avatars section.
Where is the Admin Panel?
It is at your domain address with admin tacked on the end. Like this:
mycoolhubs.space/admin
Admin Panel
There isn’t much content available right now in the form of scenes and avatars, but it will work in a little while when the content has been placed on other Hubs. Hubs Foundation is working on fixing that!
Safety & Security Settings
These settings are recommended for safety and security but also for minimizing cost. You don’t want a band of roaming squatters to move unseen into your Hubs and drive up your DO costs. So these settings are for “shutting the lights off when you leave”. It should leave your Hubs inaccessible to others UNTIL you change the settings again.
- Set the Hubs room(s) to Invite Only
- Set the room(s) occupancy to zero (0).
- Set up Monitoring Alerts at Digital Ocean. OR just log into DO and check what’s going on in Billing.
- When in doubt, delete and change your API at DO or delete your kubernetes cluster.
- NEVER share your config file with anyone.
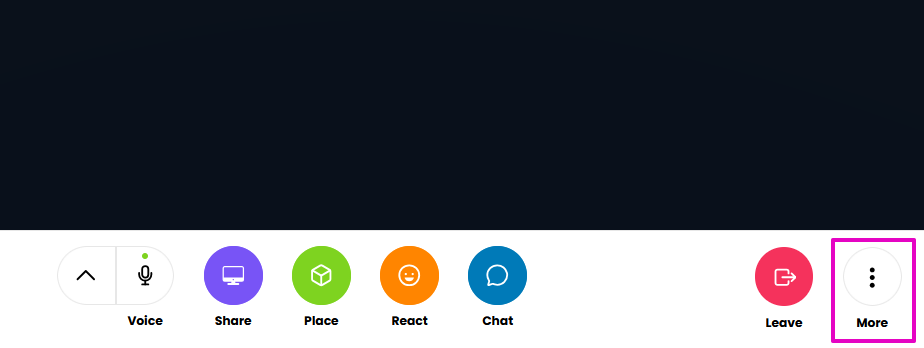
Room Settings
Select the 3 dots, select Room Info and Settings.
Select Edit.
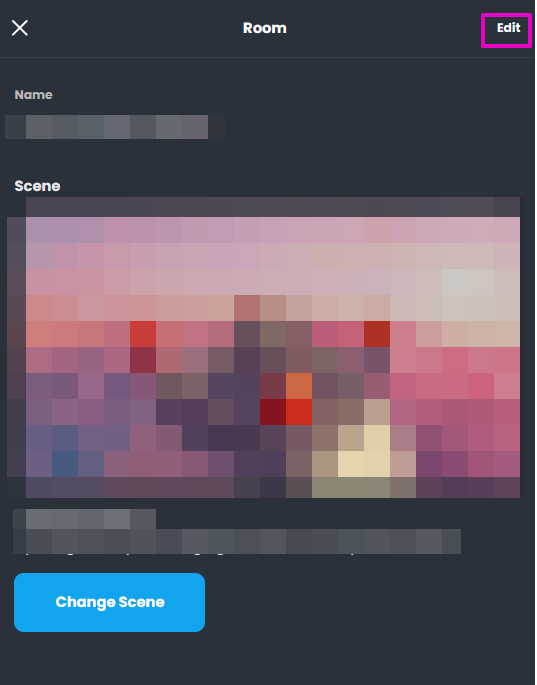
Scroll down to modify the Room Access and Room Member Permissions. These options are all your choices.
Scene Editor ← this is Spoke!
When you open New Project, you might see this:
Errors loading project. Blah blah 1 error reticulum blah. Possibly a CORS error.
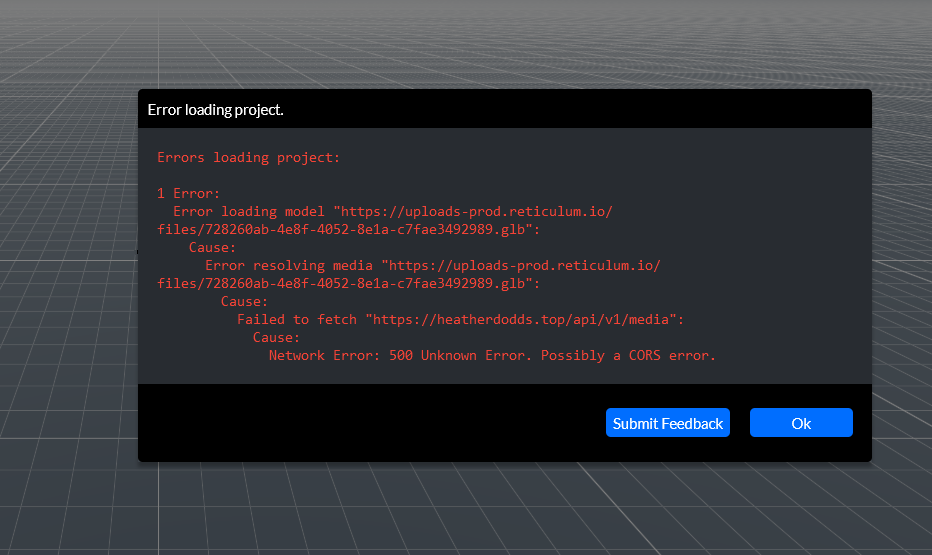
You can ignore this for now. It is Hubs saying that it can’t find the crater.glb file that used to be there as default. Just click Ok and carry on.
Bring your own glb file (BYOG)
Now that you are the captain of your own Hubs, you’ll need to get used to bringing your own supplies. That is, bring in your .glb files.
We have a few starter files.
Importing Scenes and Avatars
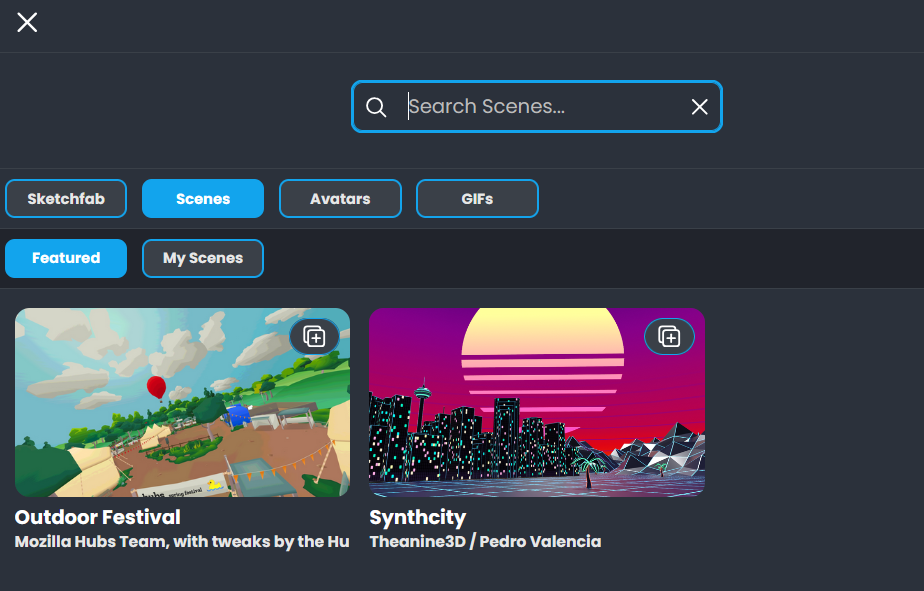
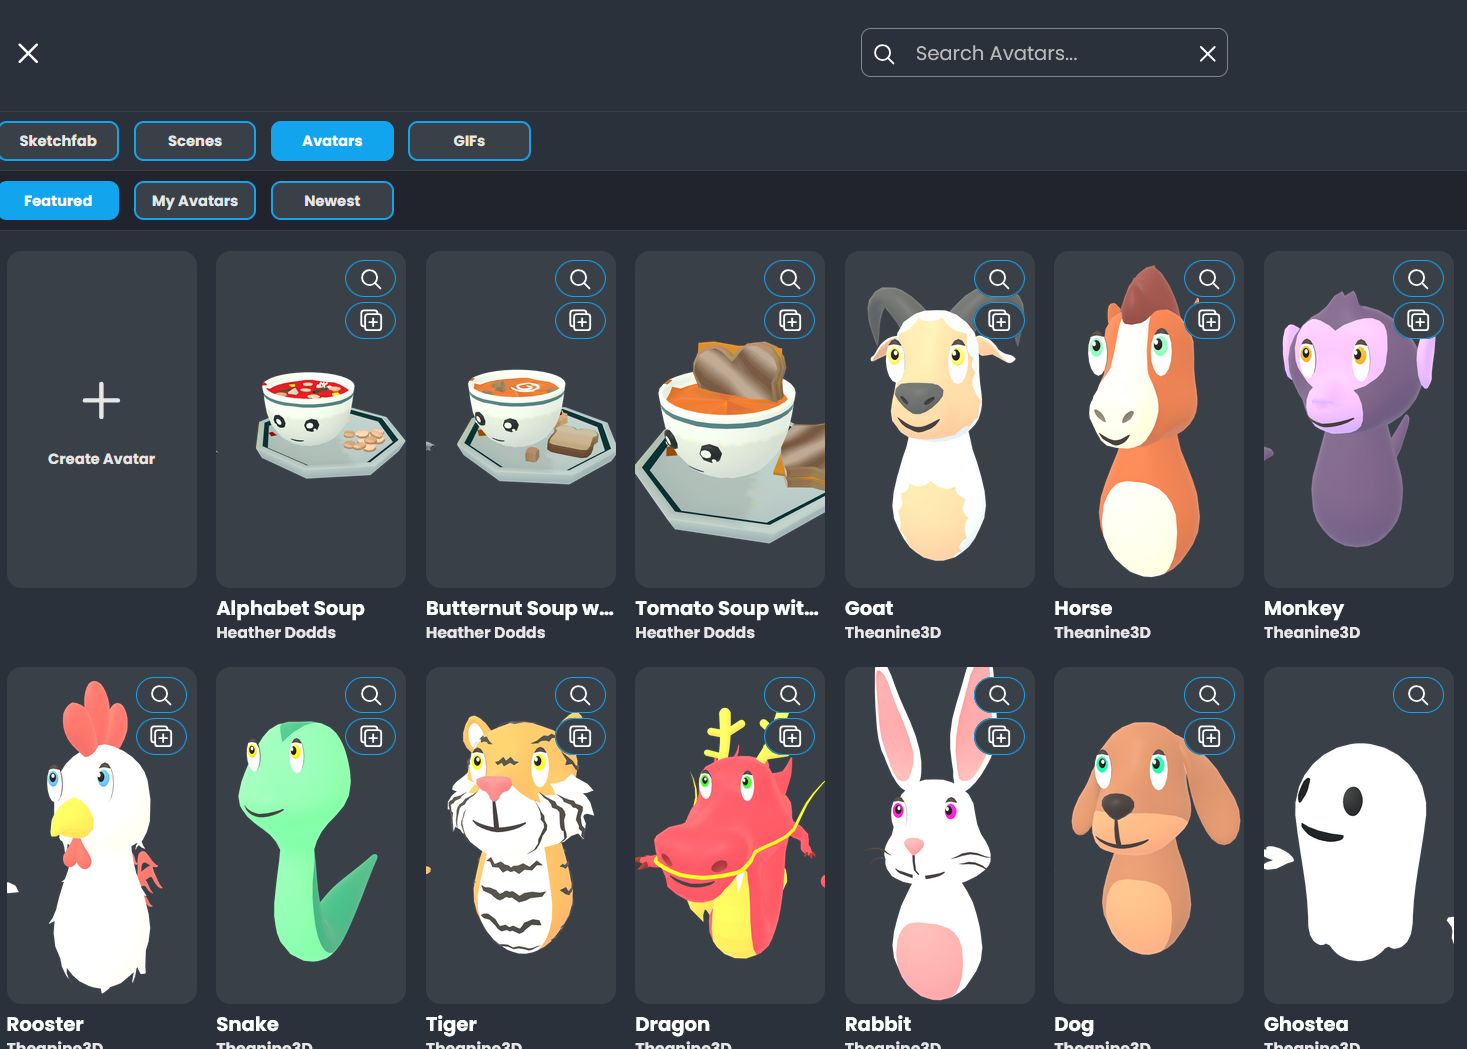
You can visit the links below to browse content that has been made available on the Hubs Foundation’s official instance.
To import the content, right-click on the asset you would like and select “Copy Link” or “Copy Link Address”.
At your Hubs Admin Panel, Import Content, paste the copied link into the “Avatar or Scene URLs or .pack file” field.
Select “Preview Import”.
Configure the import settings. Unselect or select checkboxes for “Set to Default” and “Featured” for scenes and “Set to Default”, “Set to Base” and “Featured” for avatars.
Select “Import 1 Item”.
Repeat for each asset you want to import.
Note: If you left-click one of the assets and it takes you to the lobby of the Hubs room you will need to close that tab and re-open the browser from here.
For more information on importing and managing content for your Hubs instance, see Importing Content and Managing Content in the Hubs Docs.
Start a Scene From Blender
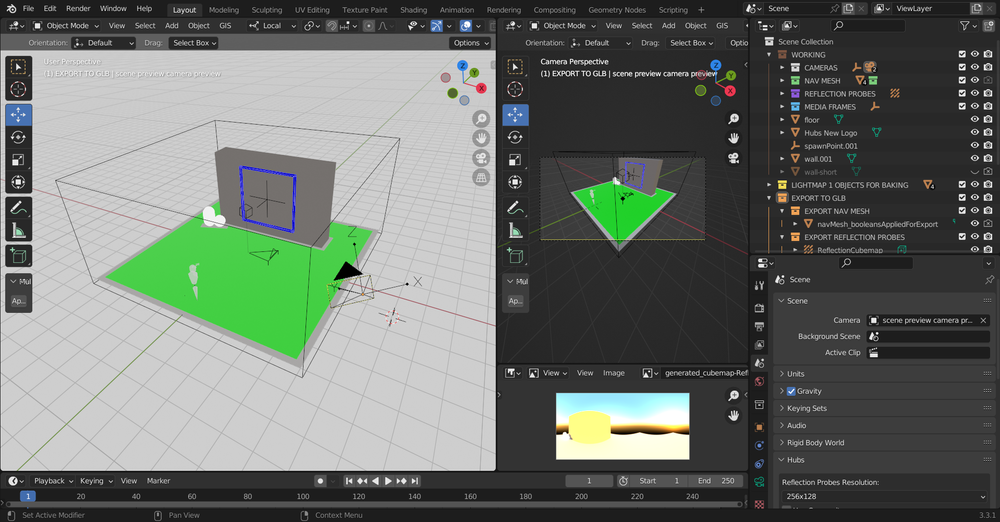
If starting from nothing is your thing in Blender, you should check out former Hubs Team member Christian Van Meurs Creator Labs article, Hubs Starter Scene File for Blender. Christian provides some tips for things to include.
Download the Blender file from Github.
The file contains:
- A simple environment containing a ground plane, a wall with a media frame, and an emissive Hubs logo.
- A navigation mesh (including the source mesh which still contains the boolean cutout shapes used to create this mesh).
- A spawn point.
- A 'Scene Preview Camera' “empty” with a camera parented to it, so you can preview where it's looking.
- A background sky texture (used to light the scene).
- An equirectangular camera properly positioned to render out the background HDR image. Remember to hide your geometry first!
- An 'Environment Settings' component containing a sample 'Background Image' (created from the background sky texture) and a smaller 'EnvMap' version of this HDR image.
- A 'Reflection Probe' with its own generated cubemap that matches the resolution of the 'EnvMap' (required or it won't work!).
- Two materials with a pre-baked lightmap image already applied and the appropriate nodes added to the shader graph.
Testing sound & screenshare
Share the link to one of your new rooms with a friend, ask them to use their microphone, see if you can hear each other.
Select the Share button and see if screen shares work.
If you don’t have a friend available, just duplicate the tab, and you will be in there twice.
If you have not used Hubs before…
- You should visit the Hubs docs.
Updating Hubs
Hubs software is updated from time to time. Announcements will be in the Hubs Discord.
How to update your Hubs CE instance
The manual method:
-
In VS Code, select hcce.yaml
-
Select Control + F on your keyboard and search for this text: IfNotPresent
-
Replace each instance of the above text with: Always
-
Select File, Save. This will keep all of the changes you just made.
-
Now we need to apply your changes to Kubernetes on DO. Copy and paste this into the terminal and hit enter on your keyboard
kubectl apply -f hcce.yaml -
Now we need to restart your Hubs instance so it picks up the changes. Copy and paste this into the terminal and hit enter on your keyboard
kubectl rollout restart deployment -n hcce
💡 Tip: Your Hubs instance will now update any time you run the above two commands until you regenerate your hcce.yaml file. To return your hcce.yaml file to the way it was, simply regenerate it and disable the default-ssl-certificate line in it.
The automatic method:
Coming soon.
How to update your Hubs CE deployment scripts (Zip Version)
Updating your Hubs deployment scripts from the repository at Github (the zip file you originally downloaded).
-
Copy input-values.yaml from your community_edition folder and paste it into a safe space. We’ll use your Desktop folder as an example.
-
Download and extract a new copy of the zip file to the same spot you did initially.
-
Select OK when asked to overwrite the files.
-
Paste or type the values you had to your old input-values.yaml into your new input-values.yaml file.
-
Select File, Save. This will keep all of the changes you just made.
-
Delete the old input-values.yaml file that is in your Desktop folder.
How to update your Hubs CE deployment scripts (Git Version)
-
If you are using the master branch with uncommitted changes:
-
Stash your changes by running this command:
git stash -
Pull in the new updates by running this command:
git pull --rebase -
Reapply your changes by running this command:
git stash pop stash@{0} -
If you run into a merge conflict, run this command:
git mergetool -
If you are using a custom branch:
-
Commit or stash your changes if needed.
-
Change back to master.
-
Pull in the new updates by running this command:
git pull --rebase -
Change back to your custom branch
-
Merge the master branch into your custom branch.
-
After updating your Hubs CE deployment scripts
-
Regenerate your Kubernetes config file for DO. Copy and paste or type the following text and hit enter on your keyboard:
npm run gen-hcce -
In VS Code, select hcce.yaml
-
Select Control + F on your keyboard and search for this text: default-ssl-certificate.
-
Enter a # (number sign) at the beginning of the text line, to the left of the dashes. It will be correct if the line changes color; this means the line has been disabled.
-
Select File, Save. This will keep all of the changes you just made.
-
Now we need to apply your changes to Kubernetes on DO. Copy and paste or type this into the terminal and hit enter on your keyboard
kubectl apply -f hcce.yaml -
Now we need to restart your Hubs instance so it picks up the changes. Copy and paste or type this into the terminal and hit enter on your keyboard
kubectl rollout restart deployment -n hcce
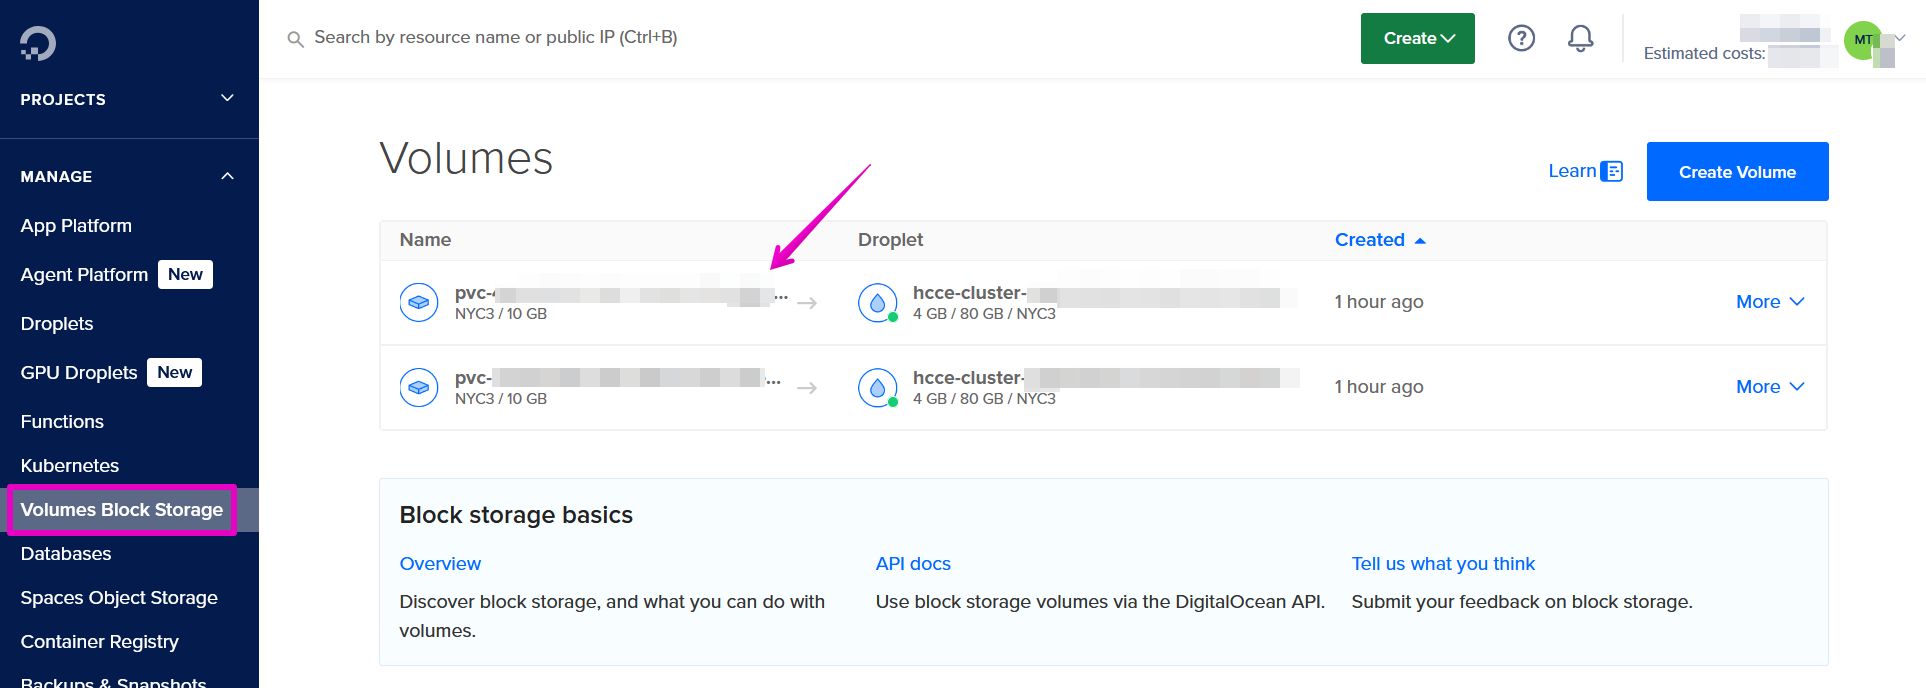
Persistent Storage for Hubs on DigitalOcean
For an instance installed or updated as of September 2025, your data will be stored safely in Volumes Block Storage, rather than on the node itself. You can see the volumes (think hard drives) in DigitalOcean by selecting Volumes Block Storage in the MANAGE menu. These are managed by you via kubectl. You can see them on the DO website but there are few actionable options available, unless you are cleaning up unattached volumes.
Note: Backups and snapshots at DO will not work with this persistent storage. See our How to backup your Hubs instance instructions for how to do that.
Generating new SSL Certificates
🤔 Note: Your SSL certificates expire every 90 days. Don’t worry. We’ve got instructions for you when that happens.