Getting Started With Administration
Admin Panel
After successful Hubs deployment, navigate to your hub's hosted domain name (e.g. myhub.com or hub.mydomain.com).
In the upper right corner, click "Sign In" and enter the email address you set as ADM_EMAIL in input-values.yaml.
In your email inbox, click the received "magic link" to login.
Once you've logged into Hubs Community Edition for the first time, you should see the Hubs Admin Console. It should look like this:
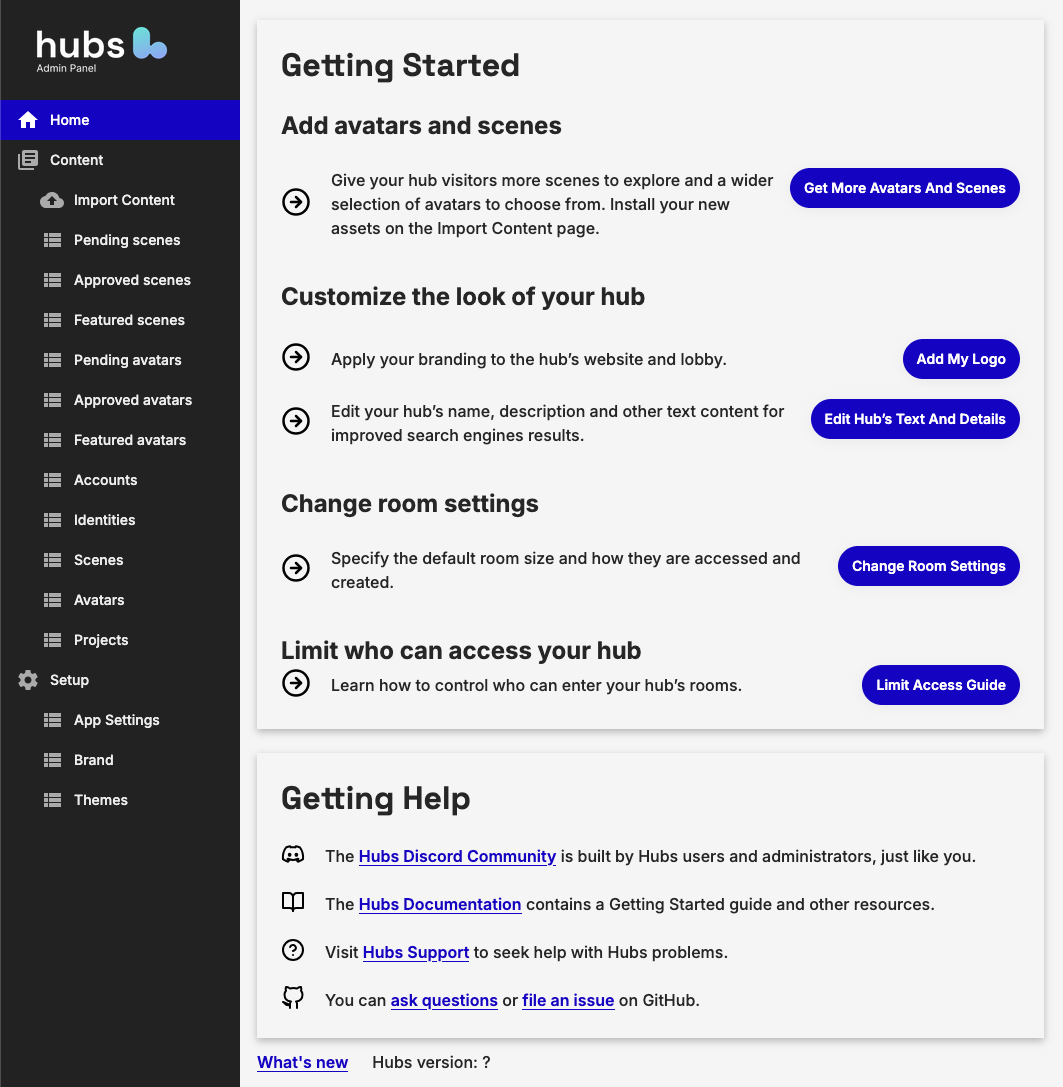
If so, congratulations! You've successfully deployed your own personal Social VR hub, powered by Hubs by Hubs Foundation.
You can always get back to the Admin Console by navigating to your site and looking for the "Admin" link in the top navigation bar:

Creating a room
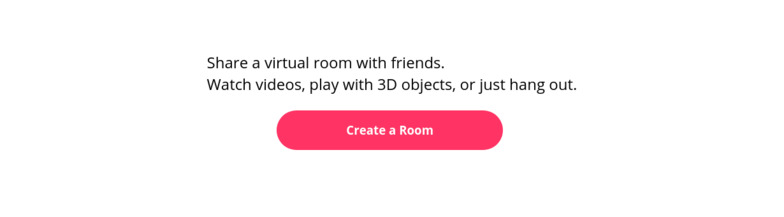
Now that your site is up and running, you can create a room by clicking on the "Create a Room" link from the homepage:
The first thing you'll notice... is your room is totally empty! Community Edition isn't very useful until you import some scenes and avatars.
Setting up your hub
Here's some things you can do to continue setting up your hub:
- Import content so your visitors will have access to a library of scenes and avatars.
- Enable the Scene Editor to let visitors create their own scenes.
- Enable permissive rooms to let visitors add media to their rooms.
- Learn how to manage content so visitors can contribute content to your hub.
- Add Administrators if you'd like others to help you set up your hub.